7 Steps to Capturing Amazing "Run to Me" Dog Action Photos
Jan 20, 2026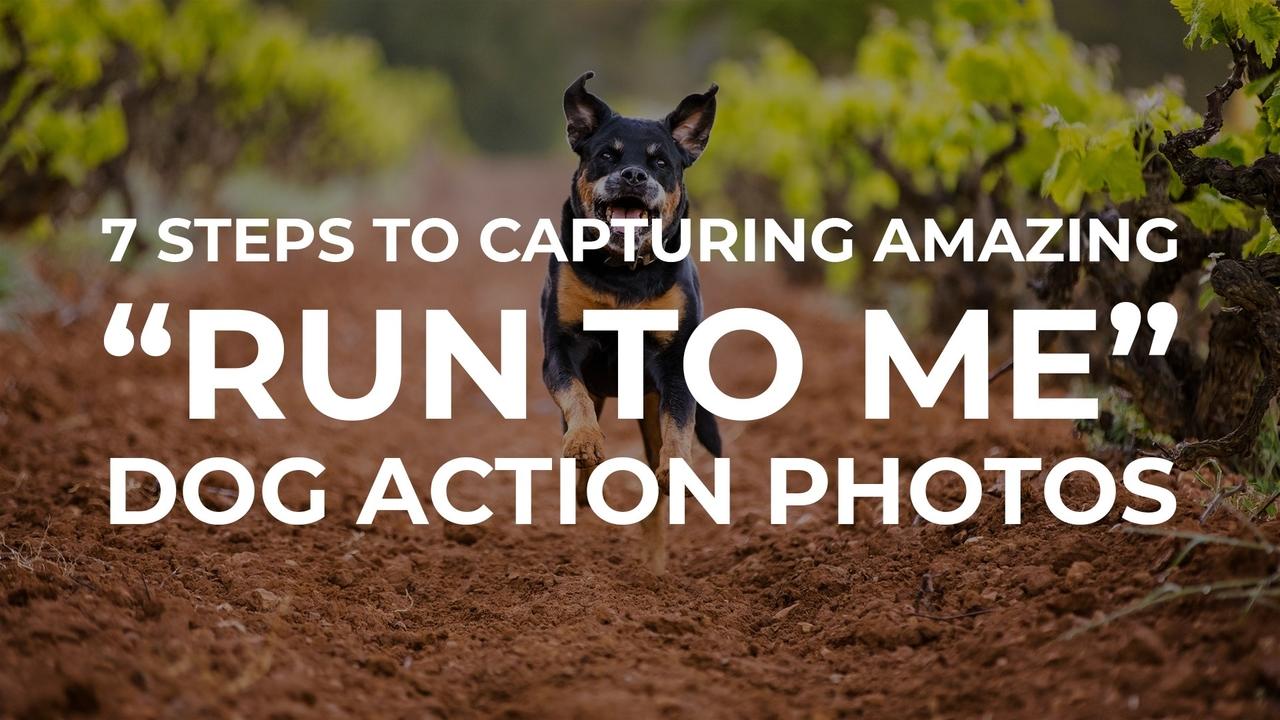
By Charlotte Reeves
Photos of dogs running directly towards the camera are often hilarious and always incredibly popular, but as you may have discovered, capturing that one perfect shot is not always easy.
Going beyond just camera settings, these steps are all essential pieces of the puzzle when shooting these awesome "run to me" style action shots, helping you create that one perfect photo to wow your audience! 🤩
Step 1. Choose a good location
Shooting action outdoors in open, well-lit, spacious areas usually creates the best results. The beach, natural spacious areas or even large playing fields are great places to take action photos, as they offer lots of room to run and play with plentiful light in the right weather conditions and time of day.

At the beach - Canon EOS 1D X, Canon EF 70-200mm f/2.8L @ 200mm, ISO 160, 1/3200 sec, f/2.8
From a lighting and technical point of view, I recommend to avoid shooting directly under trees or other sources of shade. It is of course possible to shoot action in the forest, but you need to try and maximise the intensity of the light to help keep your ISO at a manageable level.

On the edge of the forest - Canon EOS 1D X Mark II, Canon EF 70-200mm f/2.8L IS II @ 125mm, ISO 1600, 1/1250 sec, f/2.8
Open areas with clear sky overhead maximise the light and trees in the distant background are ideal for filtering the sun when shooting with backlight later in the day.

Open playing field, trees in background - Canon EOS 1D X Mark II, Canon EF 70-200mm f/2.8L IS II @ 130mm, ISO 800, 1/1250 sec, f/2.8
Suburban backyards are also not usually suitable due to space restrictions, surrounding houses, trees or other sources of shade.
From a safety perspective, you should always make sure the dog being photographed won’t go running off, never to return, if released into an unfenced area. If it’s a client’s dog especially, do your research beforehand and ask about the dog’s recall.
As far as what looks good, generally, natural areas with very few visual distractions are best. Keeping things simple often gives you the best results.
Step 2. Shoot with good light
Plentiful natural light is required when photographing dogs in action. Shooting action outdoors in open, well-lit areas is your best bet.
Full sun
The easiest type of light to capture action shots in is full sun, but the angle of the sun (how close it is to the horizon) is super important.
Overhead midday sun - although providing plentiful light - is very harsh and creates high contrast with deep shadows and hotspots, so avoid shooting action (or just avoid shooting in general) in the middle hours of the day when the sun is high.
Instead, shoot in the last hour or two before sunset, with the sun behind you or just over your shoulder, so the sunshine is illuminating the dog evenly and brightly.

Full sun, late afternoon - Canon EOS 1D X, Canon EF 70-200mm f/2.8L IS II @ 200mm, ISO 320, 1/3200 sec, f/2.8
Shooting with backlight
If you've ever tried shooting into the sun, with backlight, chances are you've ended up with a photo like this...

Direct sunlight hitting the end of your lens can cause the image be very bright and "flare" out, resulting in an overexposed, low contrast image like the one above. As a general rule, if the sun is visible in your frame, you'll probably end up with flare.
Shooting towards the sun can also make it very hard for the lens to find and track focus.
The best way to avoid flare is to make sure the sun is just outside the frame, or filtered through some foliage in the background. Shooting in the direction of trees or bushes also creates a darker background for the dog to stand out against.

Backlit, late afternoon, sun filtered through trees - Canon EOS 1D X Mark II, Canon EF 70-200mm f/2.8L IS II @ 115mm, ISO 1250, 1/1250 sec, f/3.5
Shooting backlit action shots is tricky - but with a good understanding of natural light, it can be done!
Cloudy light
Overcast or cloudy conditions create soft, even light. Cloudy conditions also mean you're not restricted to shooting only in the one direction, like you must do when the sun is out. However if it's very cloudy, it's best to face the dog towards where the sun would be if it wasn't obscured by cloud, as the sky is a little brighter in that direction.
The problem with clouds is that they reduce the brightness of the light. If you shoot too early or too late in the day, the clouds can make the scene quite dark. Heavy cloud at any time of day also reduces the light drastically. Cloudy light also low in contrast, which can make it harder for the camera to detect the subject.

Cloudy day, open area - Canon EOS 1D X Mark II, Canon EF 70-200mm f/2.8L IS II @ 105mm, ISO 1250, 1/1250 sec, f/2.8
Whatever the lighting conditions, it's important that you set up the shot so the dog runs towards you through consistent light. Attempting to get good exposures and even lighting on a dog running through dappled shade is very difficult and nigh on impossible!
For the ultimate resource on finding the best light for every pet photography shooting situation, my Working with Natural Light course is a no-brainer! 👊
Step 3. Use the right camera gear
Capturing dogs in action is technically demanding, so there's a few key features you need in a camera body, along with my #1 lens recommendation.
Reliable continuous autofocus tracking
The first is the camera's ability to obtain then keep focus on a subject as it moves towards you - referred to as continuous autofocus. This is available on all camera bodies, and is called AI Servo on Canon and Continuous-servo or AF-C on Nikon (referred to as variants of "continuous focus" in other brands).
Eye/subject detection
If you have a modern mirrorless digital camera, they usually have subject and eye detection and tracking, which makes our job so much easier! With this enabled, the camera will track the subject if they move from side to side or up and down in the frame, keeping them in focus the whole time.
If you have an older digital SLR camera body without eye or subject detection and tracking, it's up to you to keep the focus point on the dog's face as they run. If they move to the side and you don't shift to follow them, your focus point will move to the background, and your camera will often switch to focusing on the background instead.
You will still be able to capture action photos with older or lower model camera bodies, but you'll need to work a bit harder to make it easier for your camera to do it’s job - and this means paying very careful attention to all the other steps in this post - especially making sure the subject is well lit.
Camera autofocus systems work by seeing contrast in the subject, so shooting with high contrast, bright, full sun on your subject gives your best chance of success with not-so-great gear.
High frame rate
A high continuous frame rate helps increase your chances of obtaining that one "perfect" shot at the top of the dog's stride, by giving you more shots to choose from in a sequence.
Even entry-level mirrorless bodies should be able to offer at least 8 frames per second. However if you are planning on shooting lots of action, I’d recommend upgrading to model that offers at least 10 frames per second. High-end professional camera bodies are capable of shooting at upwards of 30 frames per second, with the electronic shutter enabled.
The images below were captured at 14 frames per second (slowed down for the purposes of demonstration). This shows how many options you have to choose from when shooting with a reasonably high frame rate!

Focus points
Modern mirrorless cameras usually have focus points that cover the entirety of the screen, unlike older DSLR models where the focus points were restricted to the centre.

Canon 1D X - Focus points limited to centre area, single focus point selected in red.
On mirrorless cameras, it can be helpful to still select a starting focus point in the centre, so you can place this on your subject's face as you start to track. This gives the camera an idea of exactly what you want to track, which is especially helpful when you are photographing multiple subjects, or if the background is busy, or if you camera needs a helping hand in detecting the subject to begin with.
Lenses
For the style of action shot we're talking about capturing here - the dog running directly towards you - using a telephoto zoom lens like the 70-200mm is ideal.

This lens allows you to focus on the dog at a distance and keep tracking them as they run towards you - giving you plenty of opportunity to shoot.
Another reason this lens is ideal is the depth of field it creates. Whether you have the f/2.8 version (ideal), or the f/4 version, shooting at a shallow depth of field at a long focal length (like 200mm) means your subject will be sharp and the background (and foreground) will be blurry. This helps to isolate your subject, giving the resulting image much more visual impact.

Sharp subject in a sea of bokeh - Canon EOS 1D X, Canon EF 70-200mm f/2.8L @ 200mm, ISO 80, 1/1600 sec, f/2.8
Telephoto fixed focal length "prime" lenses (such as a 135mm lens) can also be used for action, however their performance varies, and lower-priced models often aren't as reliable at keeping a moving subject in focus and may struggle in difficult light, or with a dark, low contrast subject.
Step 4. Select the right camera settings
It's a common misconception that selecting the right settings on your camera is all you need to easily capture dogs in action. While settings are important, all the other steps listed here are equally as important. Perhaps more so!
So if you've skipped to this point, make sure you read the rest of the steps as well! 😉
Camera settings for action can be divided into exposure settings, exposure modes, focus modes and focus points.
Exposure settings
Correct exposure is achieved by having the right combination of shutter speed, aperture and ISO. But which combination of these is best for action photos?
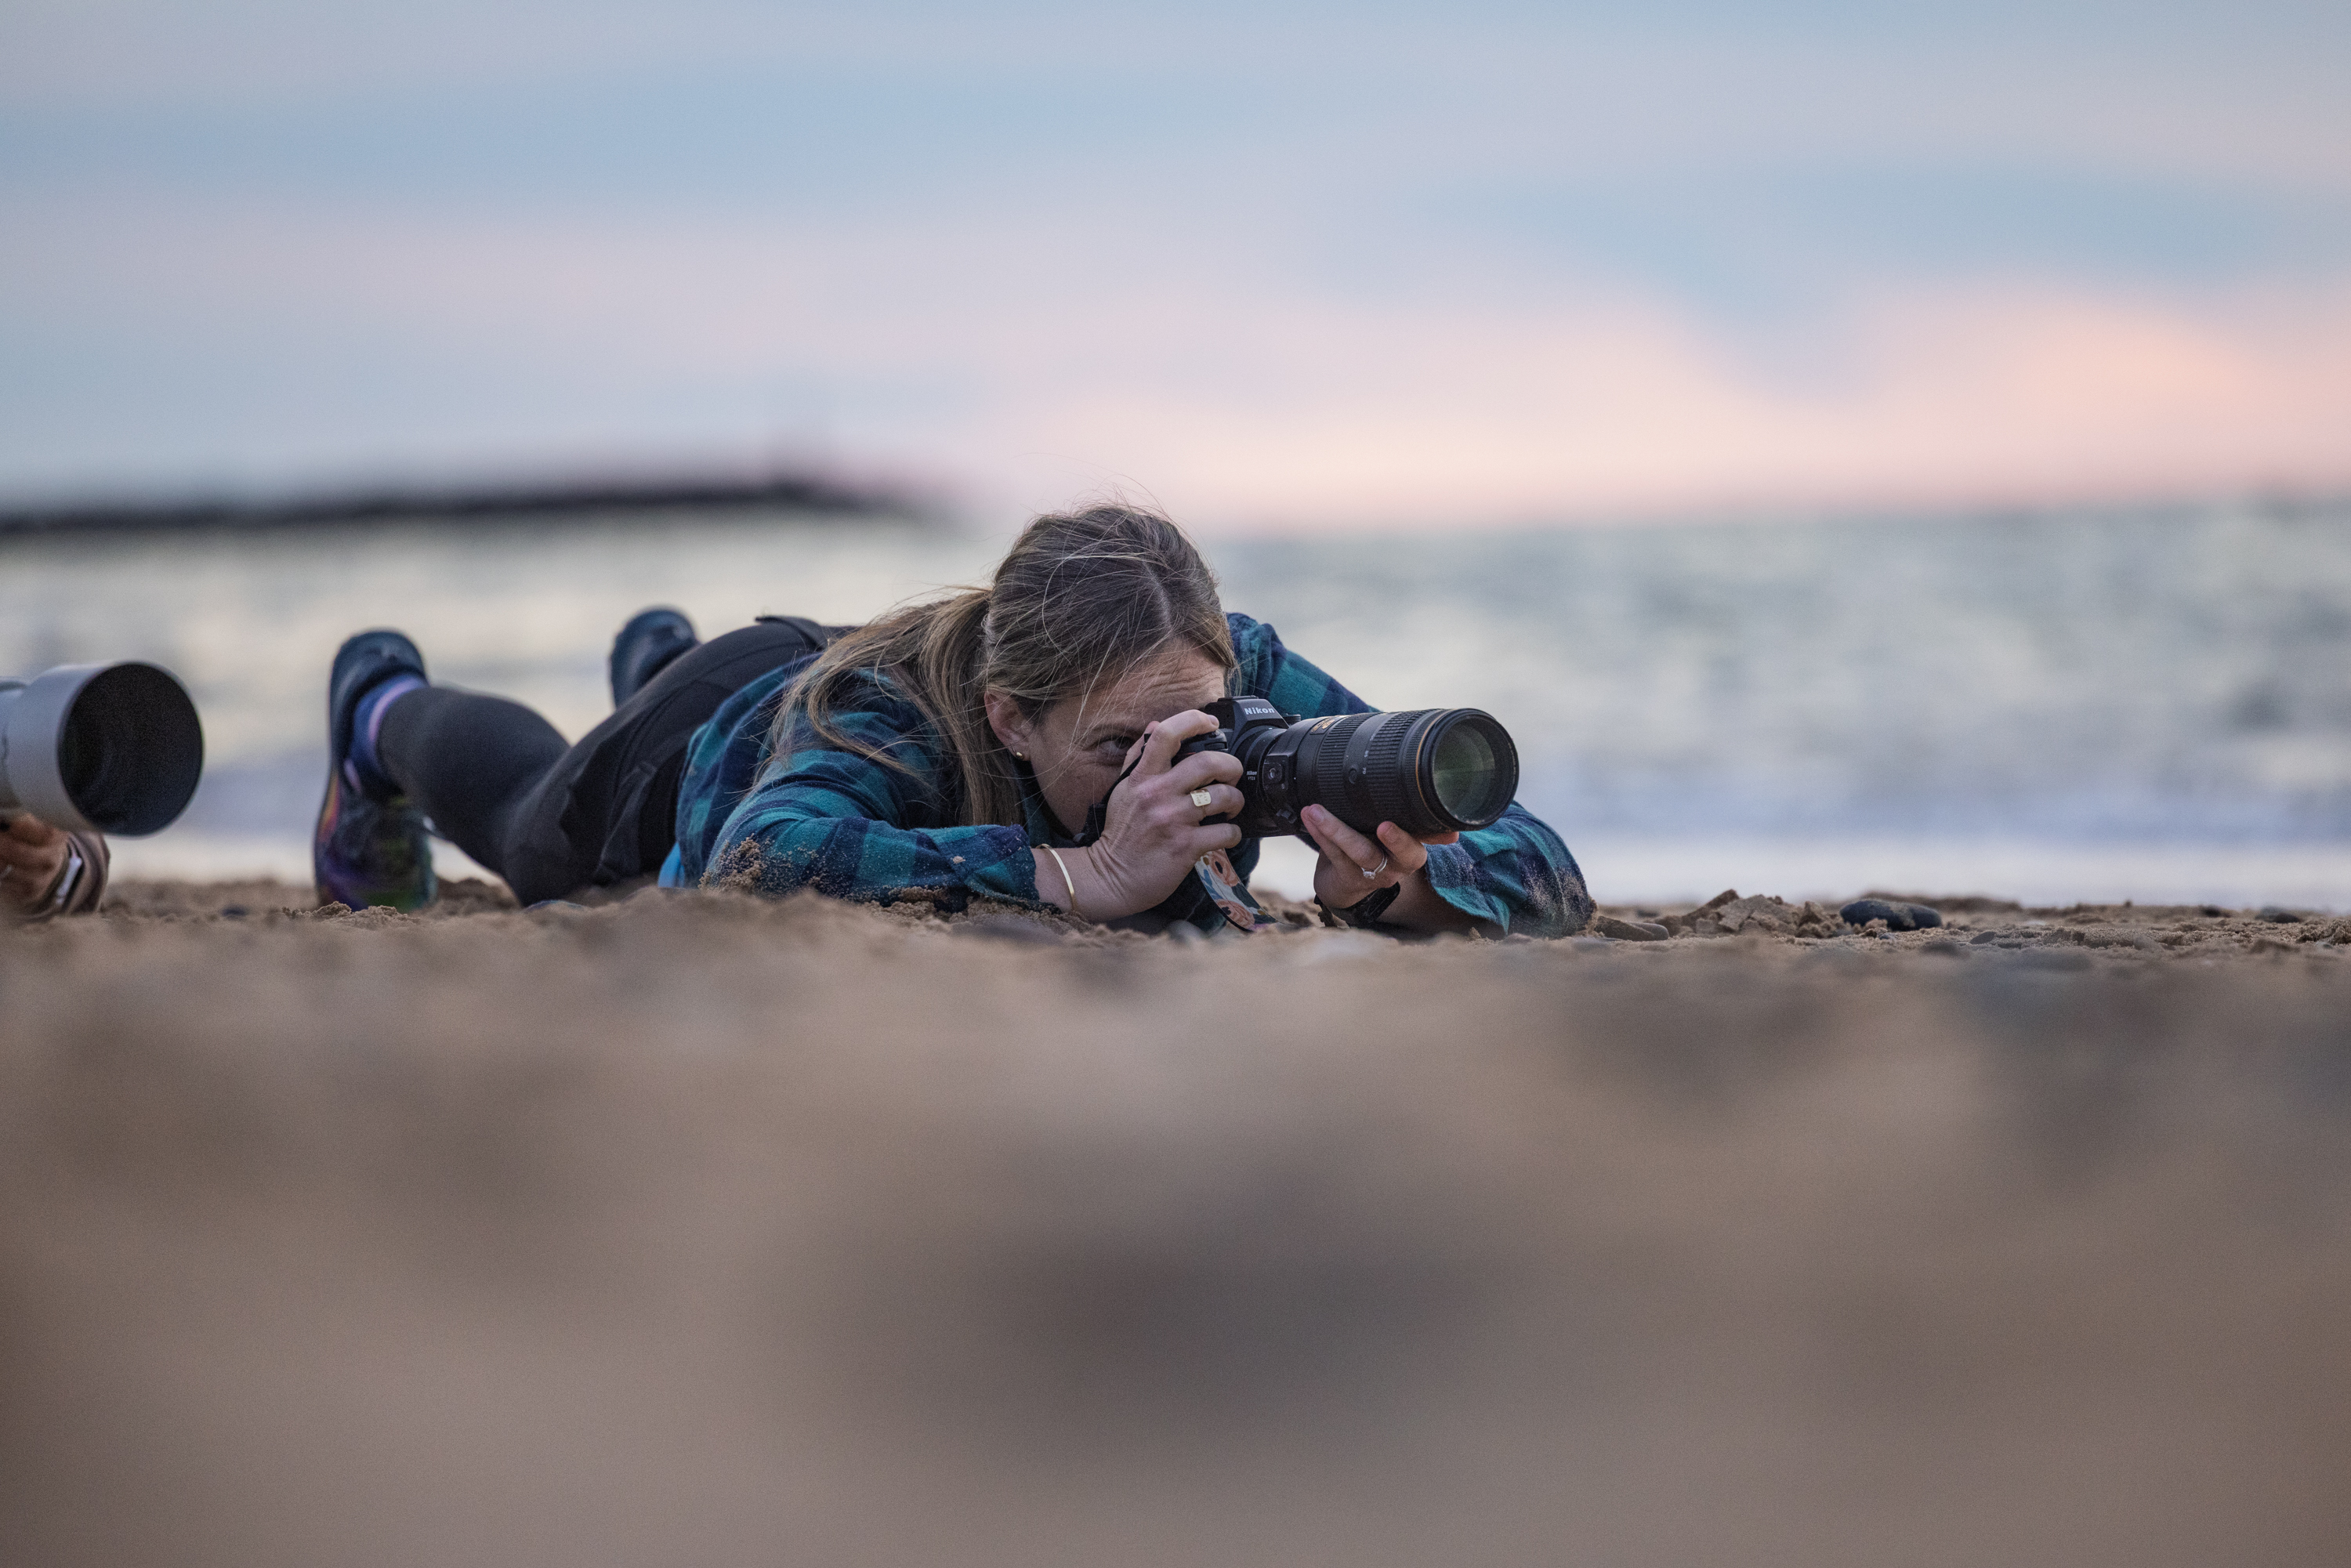
Shutter speed
One of the biggest issues people face when trying to capture action is blurry images. This happens when the shutter speed is not fast enough to “freeze” the dog in action. During the fraction of a second when the image is being recorded, the dog moves and causes subject motion blur.
To capture expressive and sharp action photos of a dog running towards you, you’ll need to use a fast shutter speed.

Fast shutter speed - Canon EOS R5, Canon RF 70-200mm ƒ/2.8L IS @ 153mm, ISO 160, 1/2500 sec, ƒ/2.8
For a dog running towards you, shoot at an absolute minimum of 1/1000 second. Faster if possible! From many years of experience in shooting dogs in action, this seems to be the magic minimum number to ensure at least the dog's face is sharp in these "run to me" action shots taken with a telephoto lens. If you have enough light, shoot faster!
Aperture
I prefer to shoot my action photos "wide open" at the largest aperture available on my camera (usually f/2.8), because I like the aesthetics of the resulting shallow depth of field, plus (more importantly) it allows me to use the fastest possible shutter speed and lowest possible ISO.
Depending on your gear and experience level, shooting with a smaller aperture (bigger aperture number, such as f/5.6) could be a good idea, increasing the depth of field and compensating for slightly missed focus. Just make sure you're shooting in bright light if you do this.
ISO
I like to think of ISO as the "utility" setting. It is set at whatever it needs to be to get the correct exposure, after you've made decisions about the shutter speed and aperture. Obviously, the lower the better for ISO to help preserve image quality.
In bright light, the ISO can be kept low.

Bright light, low ISO - Canon EOS 1D X, Canon EF 70-200mm f/2.8L @ 200mm IS II, ISO 100, 1/2000 sec, f/2.8
In low light, the ISO may need to be increased quite a lot. Don't be afraid to set the ISO as high as you need to, to get a fast shutter speed. Noise can be fixed easily (AI noise reduction in Lightroom and other apps works brilliantly) but you can't fix subject motion blur.

Low light, high ISO - Canon EOS R5, Canon RF 135mm ƒ/1.8L, ISO 4000, 1/1600 sec, f/1.8
Exposure modes
I highly recommend shooting in full manual exposure whenever practical. This gives you the most control over the settings and look of the resulting images.
If you're not comfortable shooting in Manual, the next best exposure mode to use for action (though it's not available on all camera bodies) is Manual with Auto ISO. This allows you to set the shutter speed and aperture (the two most important settings) manually. The camera then meters the scene and decides what ISO to use.
If you don't have Auto ISO, you'll want to choose shutter speed priority mode - labelled “TV” on Canon cameras and “S” on Nikon. In this automatic exposure mode, you set the shutter speed (and ISO) and the camera decides on the aperture.
I don't recommend shooting in aperture priority mode (AV or A), because you lose control over the shutter speed, which is the most important setting when shooting action.
Focus modes
The most suitable focus mode for focusing on moving subjects is continuous autofocus. In this mode, the camera’s autofocus system focuses on whatever is directly under the chosen focus point, keeping them in focus as they move towards you.
This is called AI Servo on Canon and Continuous-servo or AF-C on Nikon (referred to as variants of "continuous focus" in other brands). In this mode, the camera obtains focus and keeps that object in focus as it moves, as long as you have the shutter button held halfway down (default method) or the AF-ON button on the back of the camera pressed (when using back button focus).
Definitely do not use One Shot (Canon) or AF-S (Nikon) as this mode locks focus - no good for a moving subject.
My preferred focus technique for pet photography is the back button focus (BBF) method. You can read my full explanation what back button focus is (and isn't) in this blog post. While this technique is a little less useful with the introduction of mirrorless cameras, it does still have its benefits.
Focus points
If you have a mirrorless camera with eye detection, sometimes called animal eye autofocus, you're in luck!
This technology is a game changer for pet photographers. Set to this mode, not only will the camera keep focusing on the subject as they move towards you, it will also track the subject as it moves around the frame - up, down, left and right. With focus points covering close to 100% of the frame, wherever the subject moves to, the camera will follow.
If you have an older DSLR camera without eye detection and tracking, selecting a single central focus point will often be the best choice when the dog is running directly towards you. Strive to keep that single point on the dog's face. With larger dogs especially, select a point a couple of spots up from dead centre, as this leaves room for the dog's legs in the composition.

Canon 1D X - Single + 4 surrounding assist focus points, viewed with the Show Focus Points Plugin for Lightroom
On lower end or older mirrorless cameras, you might be better off switching to a single point for focusing on dogs running towards you, as sometimes the focus can be a bit slow and unreliable for fast or erratic subjects.
High-end professional cameras can have a whole swathe of extra autofocus settings, modes and options - which is outside the scope of this post to cover in detail. I can’t emphasise how important it is for you to read your camera’s manual and thoroughly understand the capabilities and available options of your camera model.
High frame rate
Shooting at the highest possible frames per second your camera is capable of helps increase your success rate and gives you more shots to choose from. This increases your chances of obtaining that one "perfect" shot in the dog's stride, or at the very top of their leap.
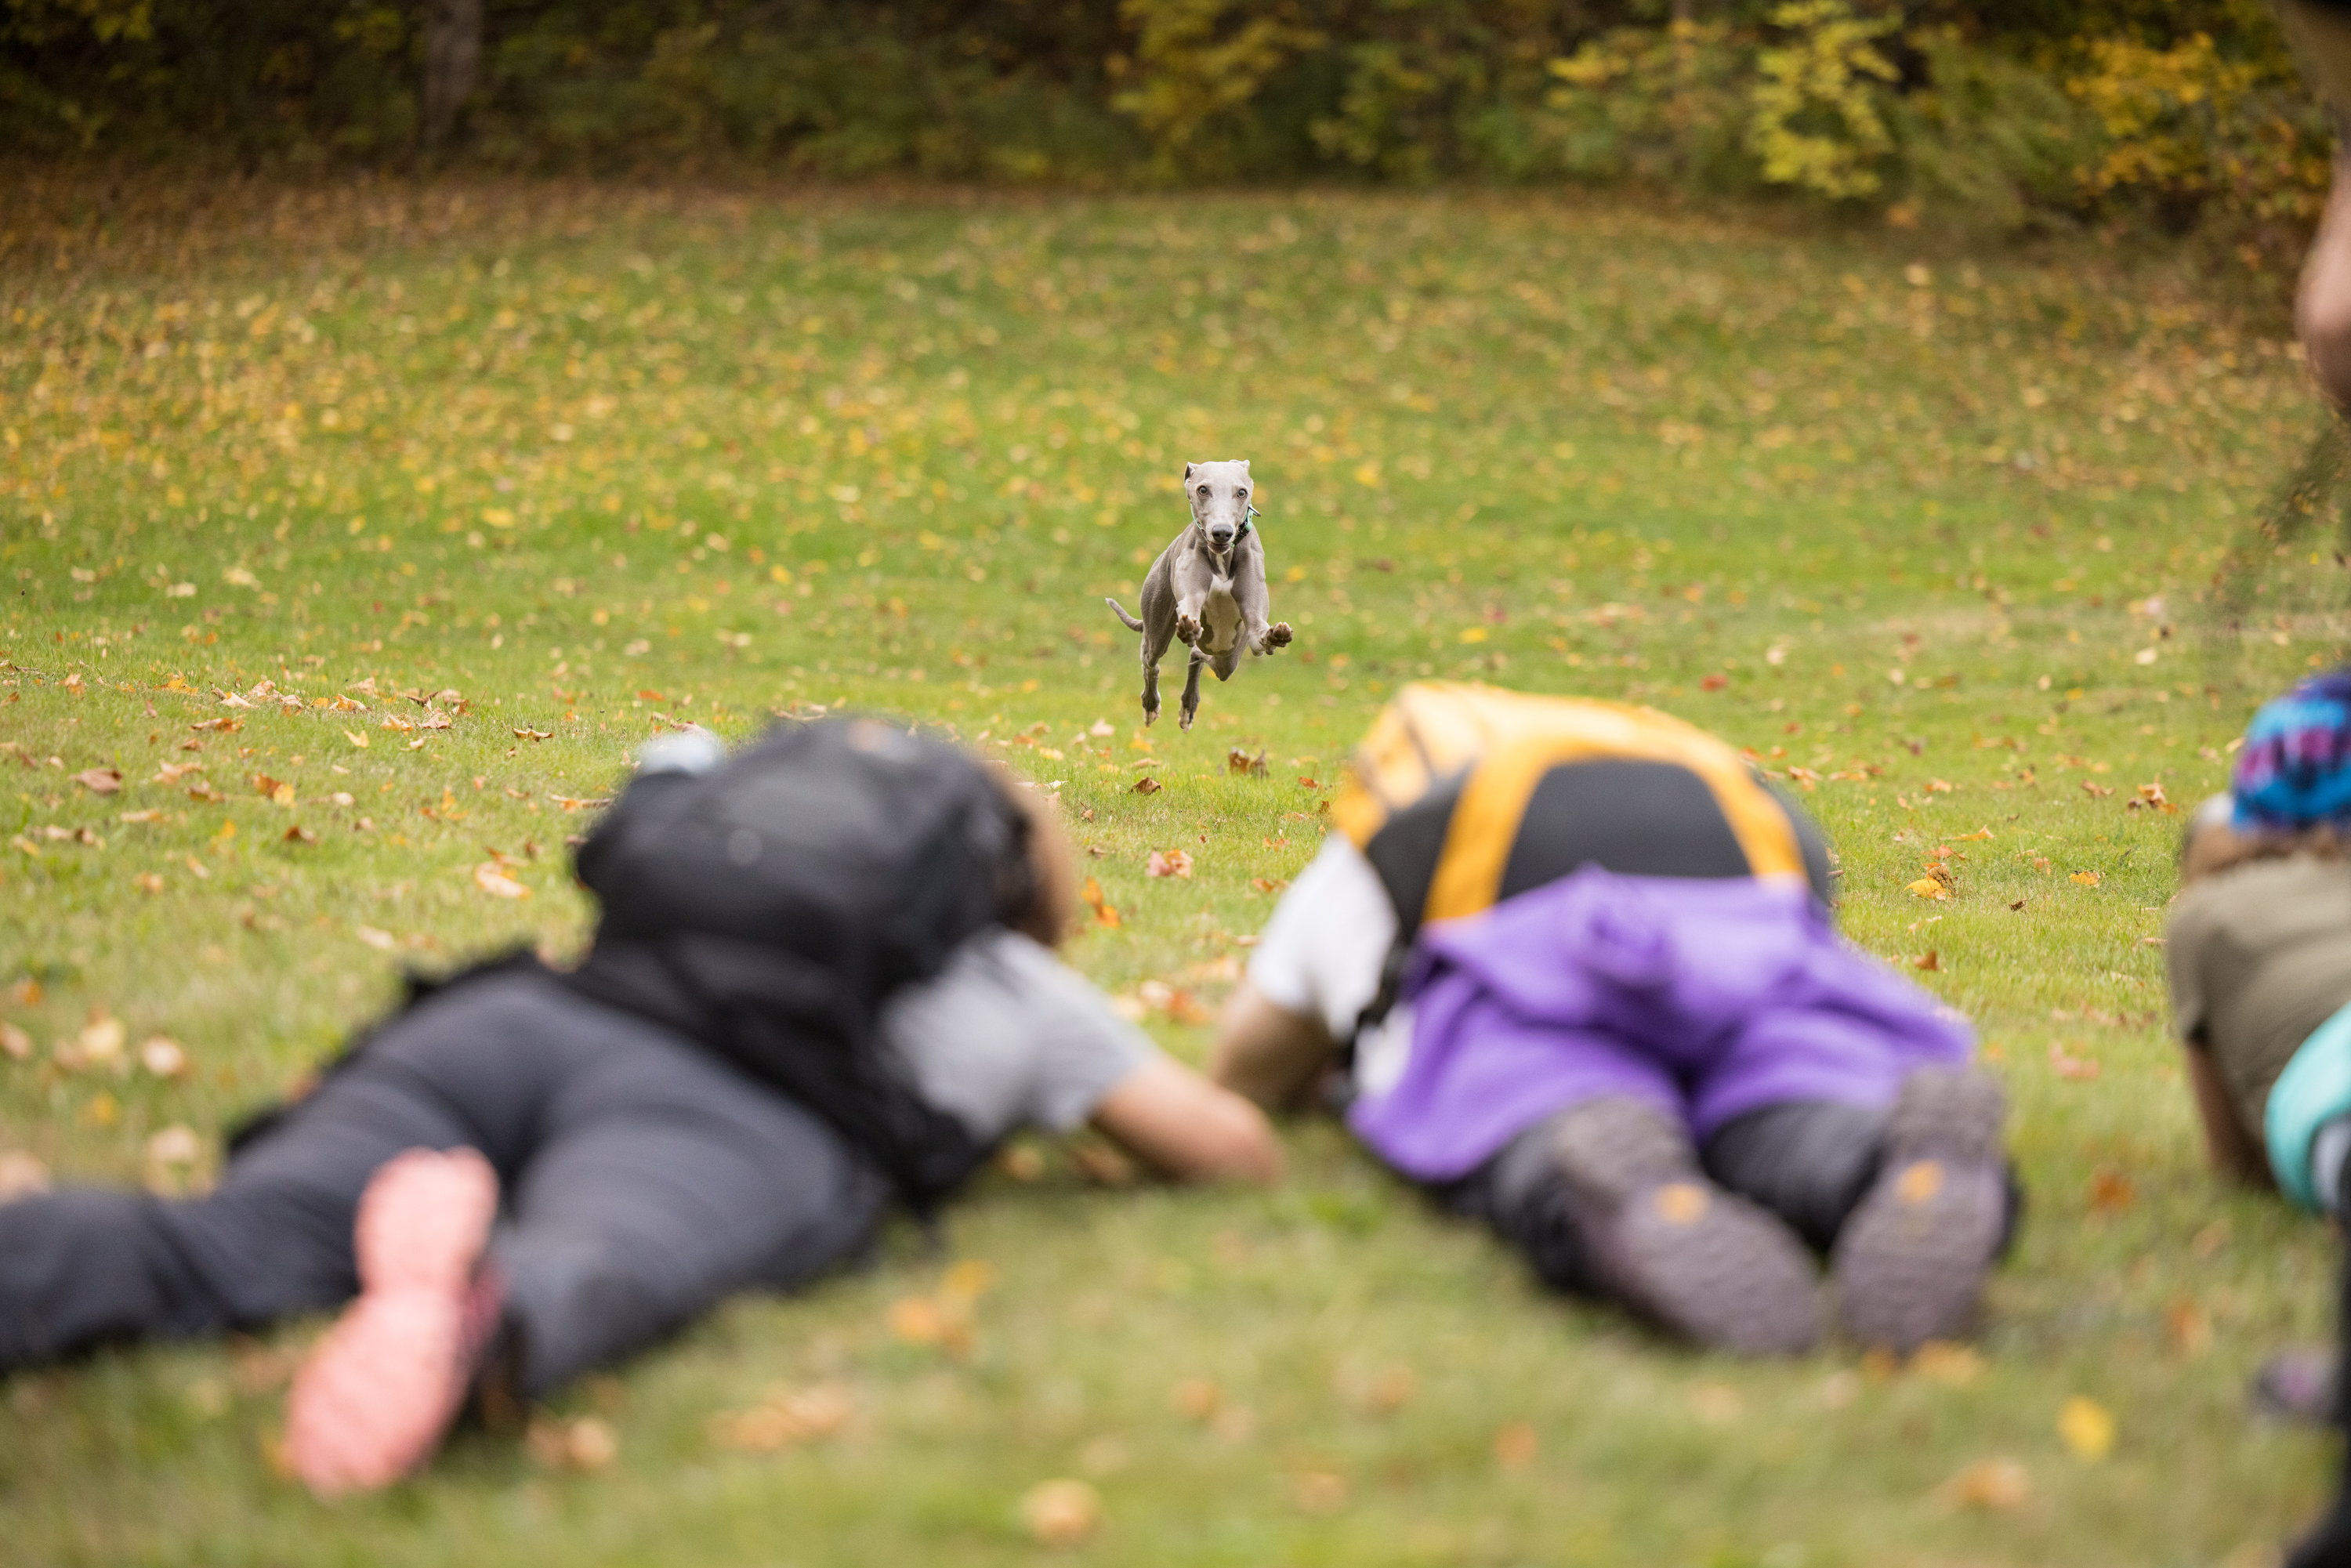
Step 5. Set up predictable, repeatable action
Anything that involves rapid motion and direction changes can be tricky to photograph, but anything you can do to make the movement more predictable will make it easier.
The classic “run to me” shot is my go-to action shot during client sessions. These are fairly easy to set up, and can be repeated multiple times to give you the most opportunities to capture that perfect shot.
There’s a few different ways to get the dog racing directly towards you, depending on their level of training. If the dog has a good "stay" command, just have the owner or handler ask them to stay at a distance, then when you’re ready, release and call them towards you.

Owner setting the dog up in a stay at a distance.

Owner comes back to photographer before releasing from stay.
If the dog doesn’t have a good long distance stay - not many dogs do 😆 - then there are other methods you can use.
If you have two owners, or an extra helper, get the person the dog will most likely run towards standing behind you, with the other person holding the dog at the starting point. When you’re ready, have the dog released and get the owner behind you to call them enthusiastically towards you both.

Make sure you get the person holding the dog to head off to one side after releasing the dog, so they're not standing directly behind the running dog. In the example below, the owner was very easy to edit out.

Owner in the background - Canon EOS 1D X Mark II, Canon EF 70-200mm f/2.8L @ 100mm IS II, ISO 2000, 1/1250 sec, f/2.8
If the dog loves to play fetch, you can throw a ball for them, then photograph them as they are on their way back to you. They do need to bring it back to you (or the owner standing close to you) for this to work though, so their fetch game needs to be on-point!

Fetch! - Canon EOS 1D X, Canon EF 70-200mm f/2.8L @ 200mm IS II, ISO 1250, 1/1000 sec, f/2.8
Alternately, ask the owner to throw a ball or toy towards you to get the dog racing in your direction. I always tell people to try and hit me with the ball, because otherwise they politely try not to hit you, and usually end up throwing the ball off to one side!

Chasing a ball - Canon EOS 1D X, Canon EF 70-200mm f/2.8L @ 200mm, ISO 800, 1/1600 sec, f/2.8
Step 6. Nail your shooting technique
Shooting technique is important for capturing these "run to me" action shots. It's not just a matter of standing there and pointing the camera at your subject. Commitment is required!
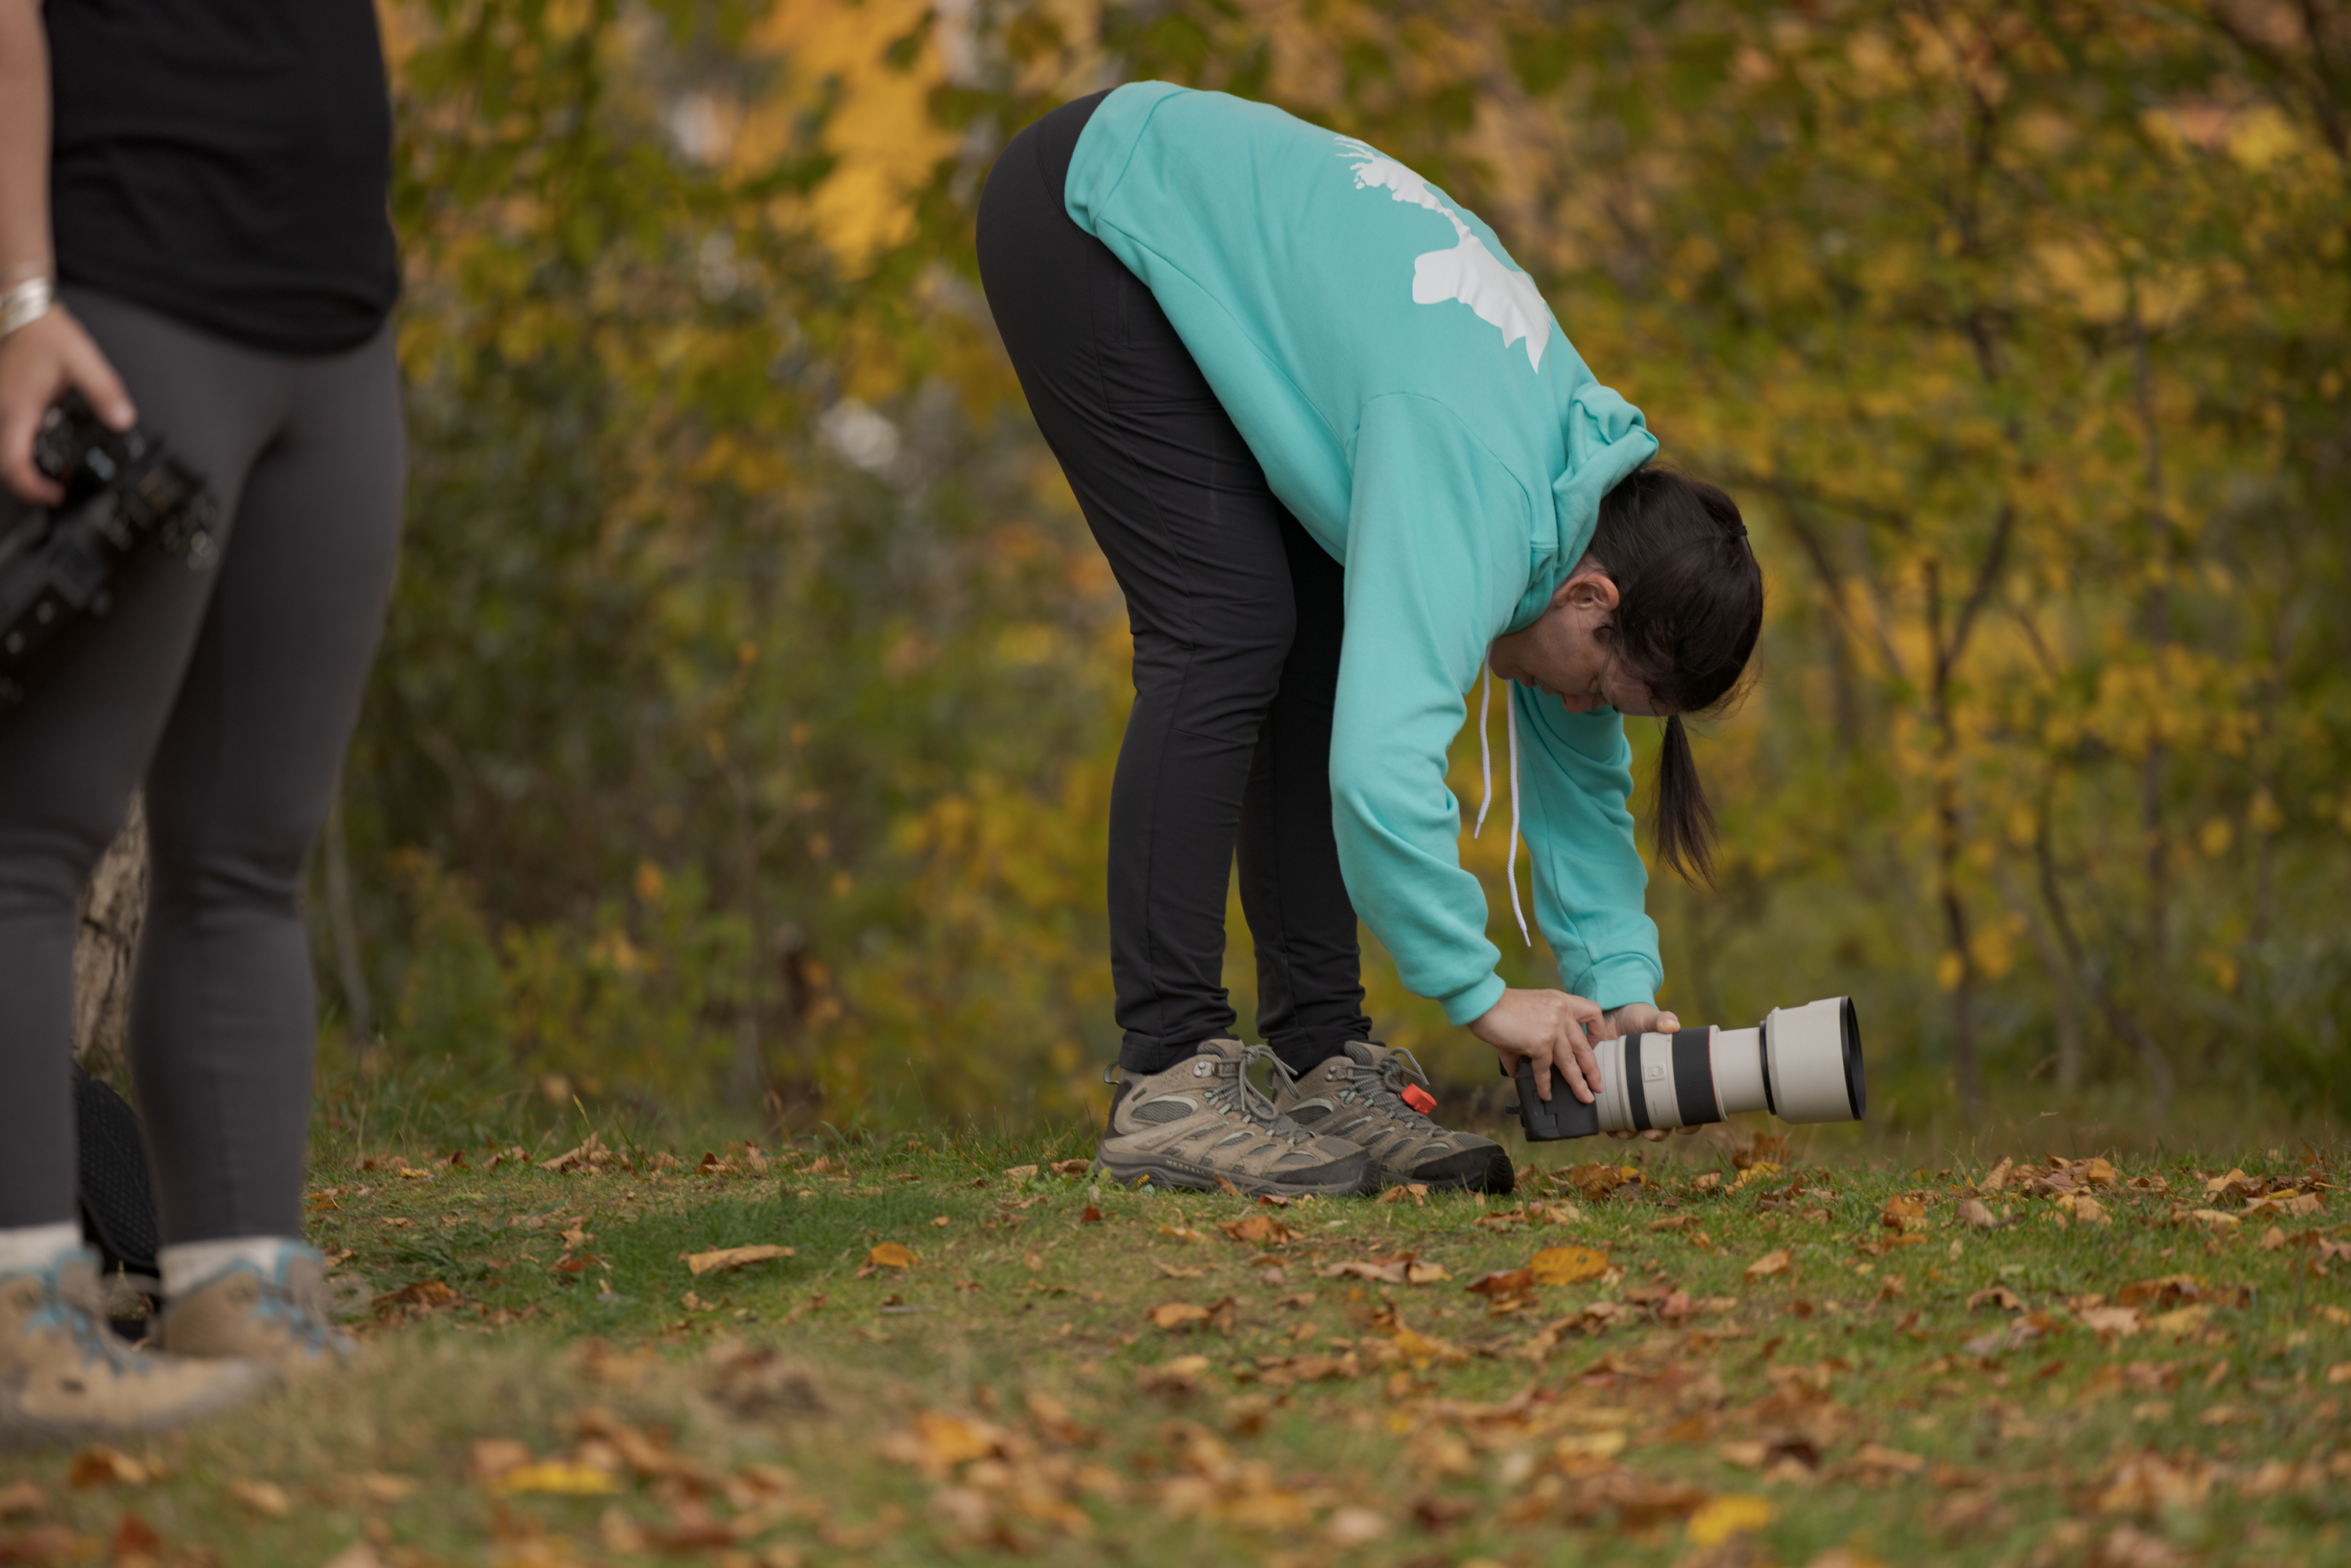
Get down low
This is probably the most important thing to remember when shooting action. As my good friend, co-instructor and pet photographer extraordinaire Craig Turner-Bullock says - "if you can get lower, you're not low enough!" 👊
Shooting from a low angle when capturing "run to me" action photos has a number of benefits. Shooting at dog level gives the resulting images a more accurate sense of scale and perspective, allowing you to see their expressions clearly and giving an insight into their world.

Dog level - Canon EOS 1D X, Canon EF 70-200mm f/2.8L IS II @ 200mm, ISO 800, 1/1000 sec, f/2.8
Photos of dogs running taken from a very low angle create visual space between their running legs and the ground. This low angle creates much greater visual impact, especially if they are jumping over something or bounding along with tonnes of energy.
Getting down low to the ground helps avoid casting your shadow on your subject when shooting in full sun with the sun low in the sky behind you.

Late afternoon, full sun - Canon EOS 1D X, Canon EF 70-200mm f/2.8L IS II @ 200mm, ISO 400, 1/8000 sec, f/2.8
Shooting along the ground instead of down towards the ground means the plane of focus will be quite shallow, so aside from a narrow strip of detail, any distracting details on the ground will be out of focus and won't compete with your subject.
Being low also introduces an extra layer - foreground. This extra element creates depth, an important element of composition. Having a clear foreground, middle ground and background adds interest and gives the image a more professional appearance.

Layers create depth - Canon EOS 1D X Mark II, Canon EF 70-200mm f/2.8L IS II @ 200mm, ISO 400, 1/8000 sec, f/2.8
Be steady and stable
Holding the camera as steady as possible is very important. The more stable you are, the less chance there is of your aim, focus or ability to follow the action being affected.
Prior to mirrorless cameras, we used to have to get right down on the ground with our cameras, craning our necks at unnatural angles to see through the viewfinder while the camera was low to the ground. If you shoot with mirrorless, thankfully that's all changed!
Now, you can use the flip screen on the back of the camera to "see" through the viewfinder, holding the camera down low, and looking down at the screen angled up towards you. Depending on your flexibility, co-ordination and whether your knees creak as much as ours do, you can choose the body position that suits best. If you're fairly flexible with bending forwards from the hips, you can simply lean over and look down at the camera. This if often my preferred method of shooting, especially as it allows me to simply step into the right position, if my position needs to change.
If you have nice strong quads and fairly good flexibility, you can squat.

Or you can crouch, with a knee on the ground for stability.
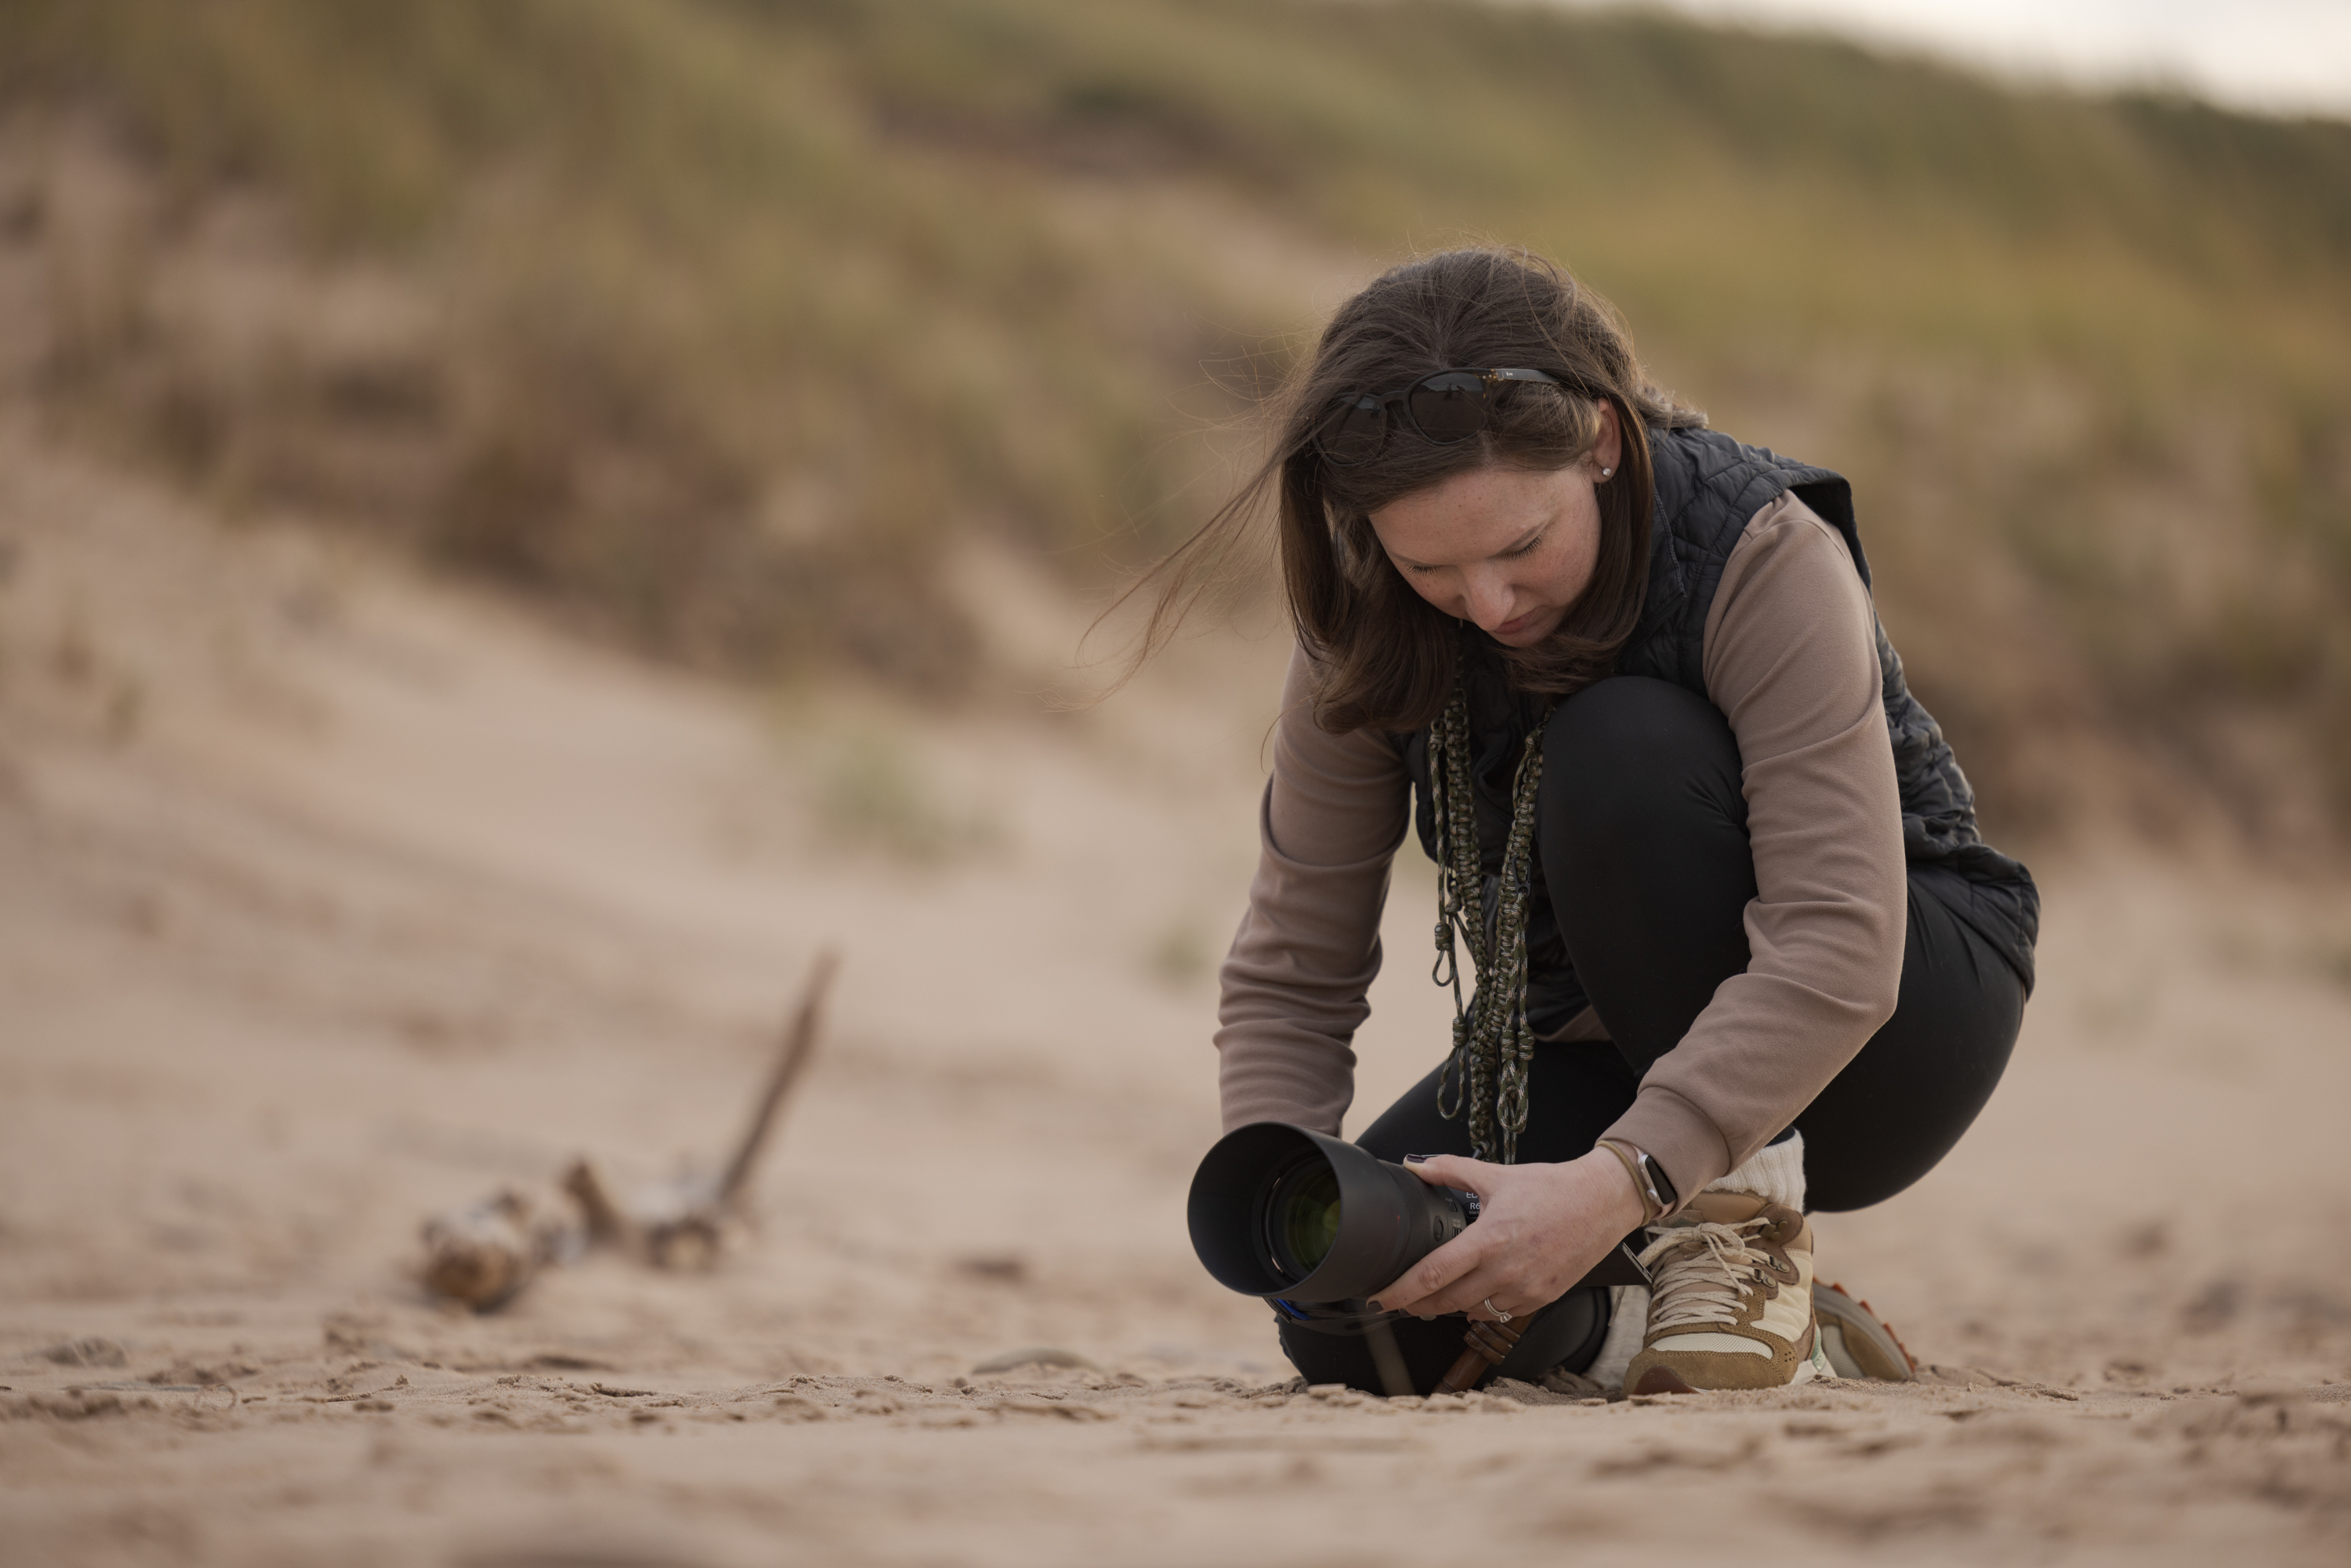
Or you can kneel on both knees.
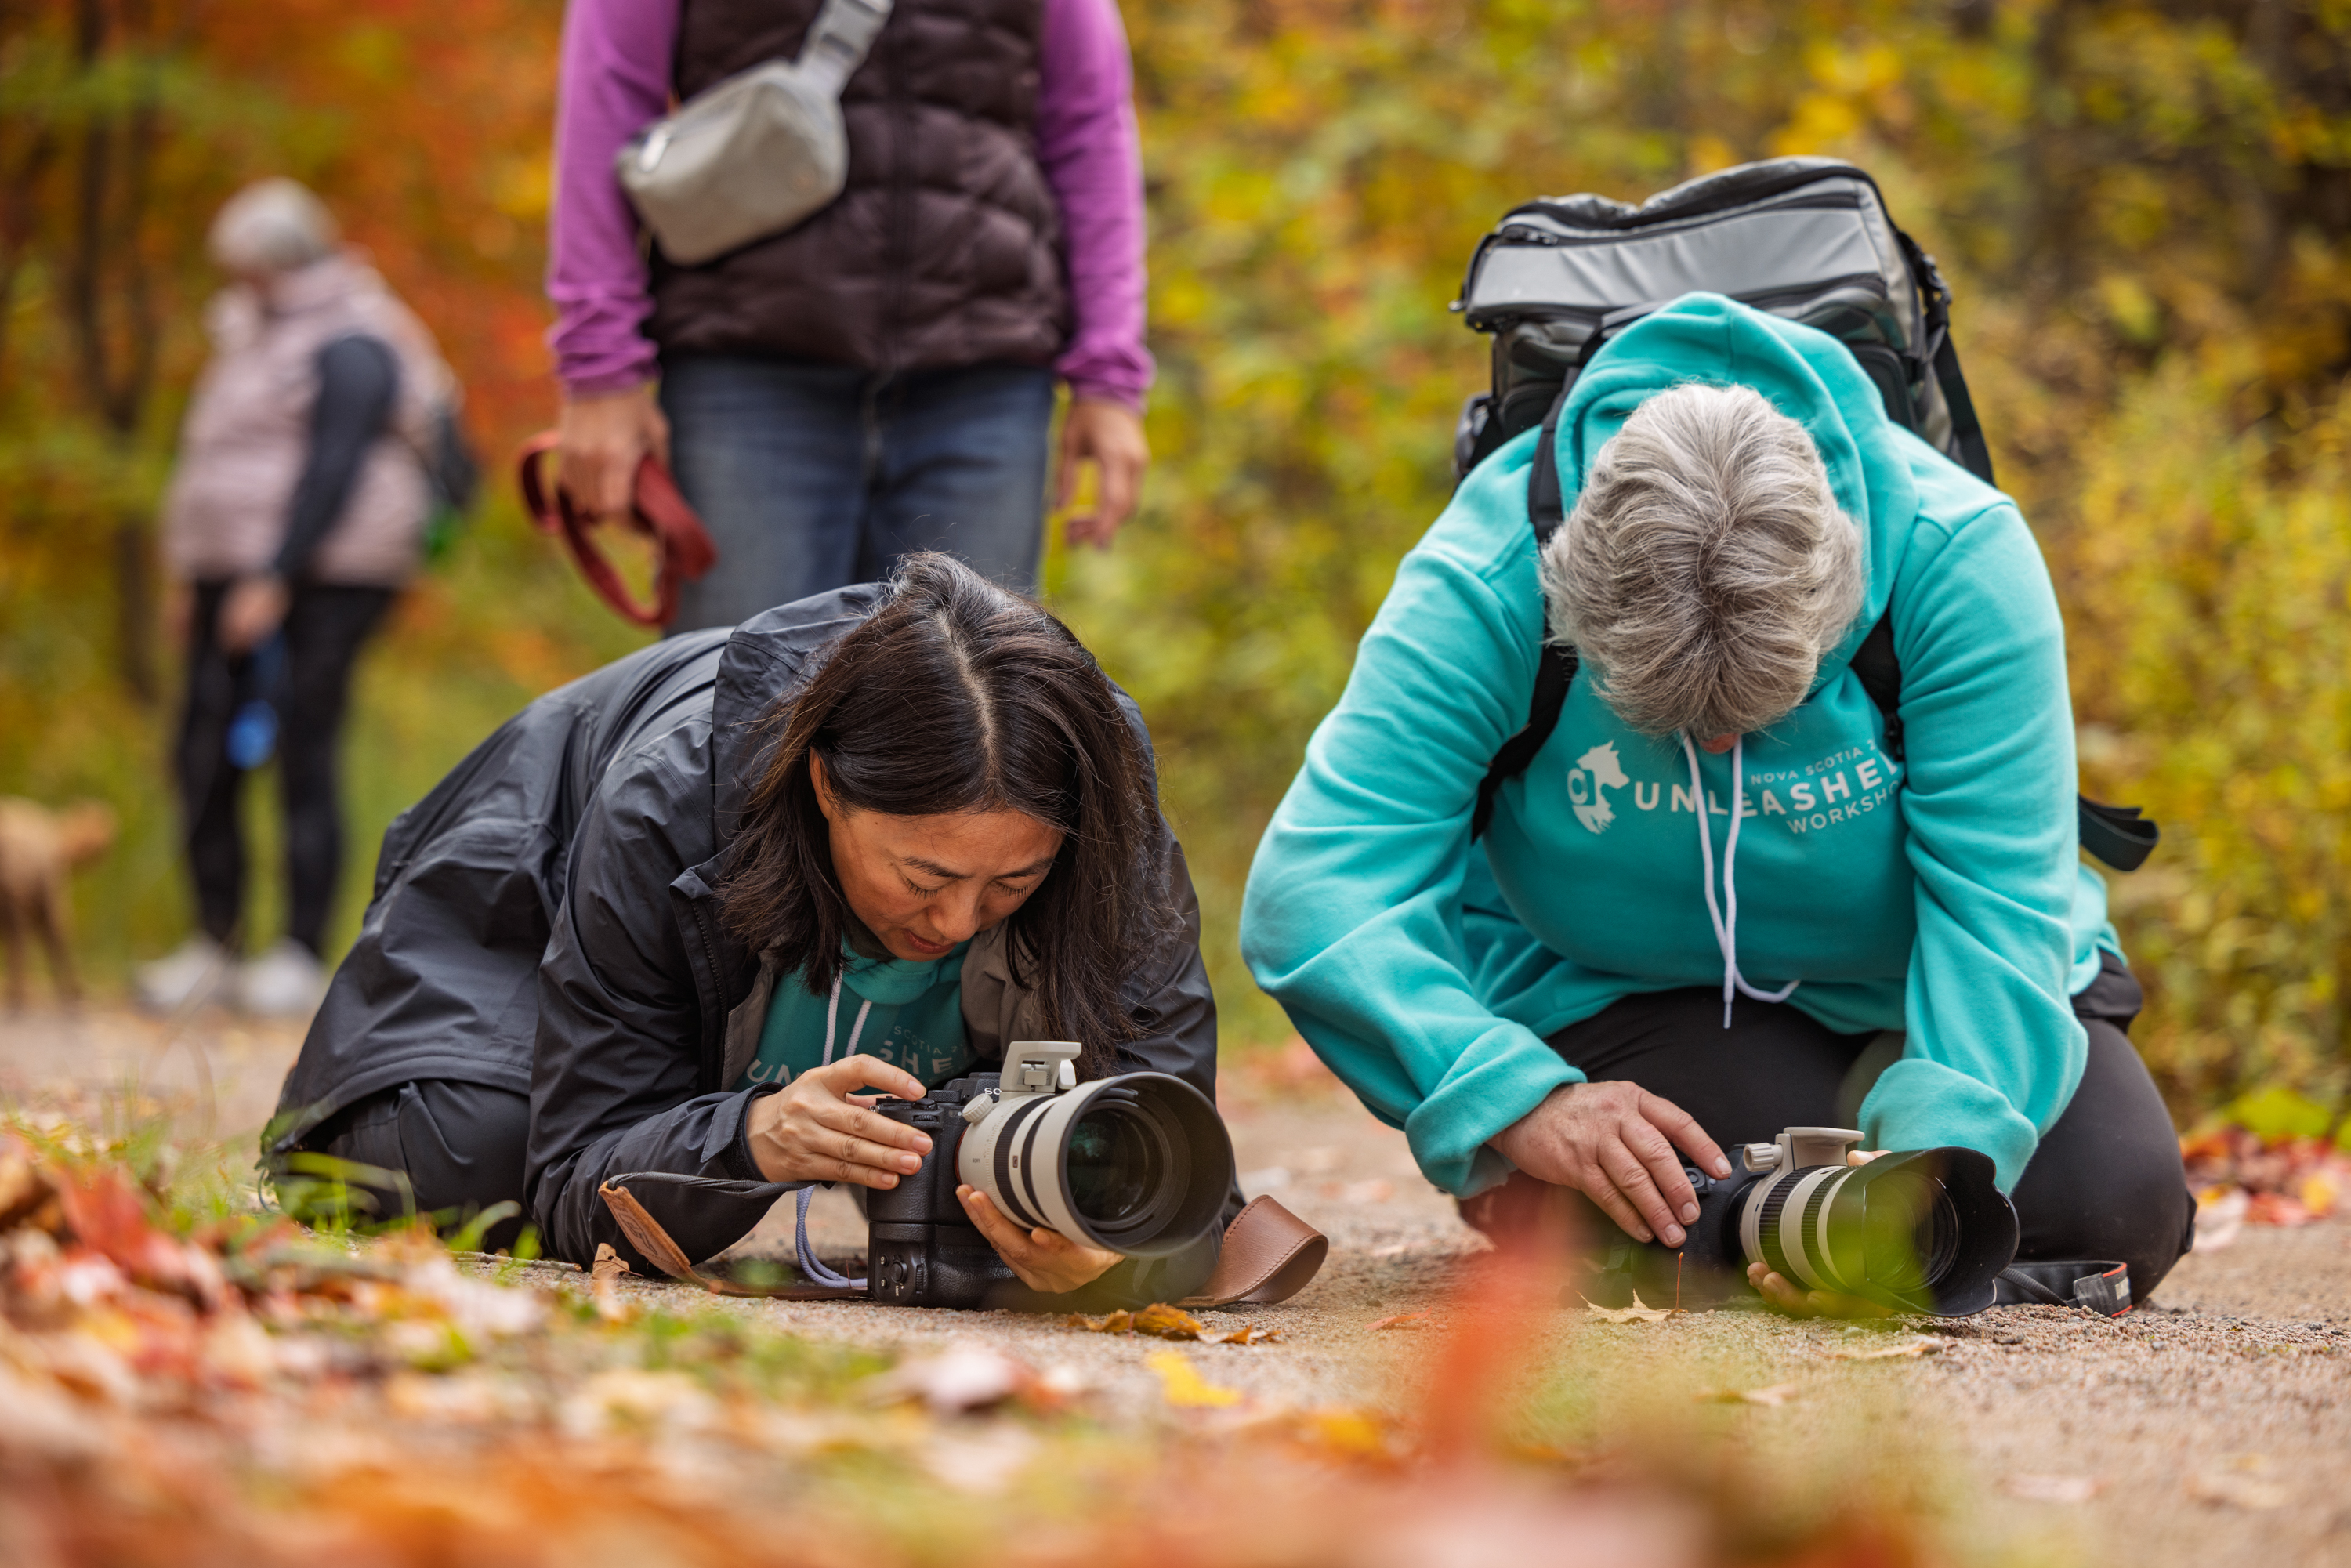
Or you can just sit down!
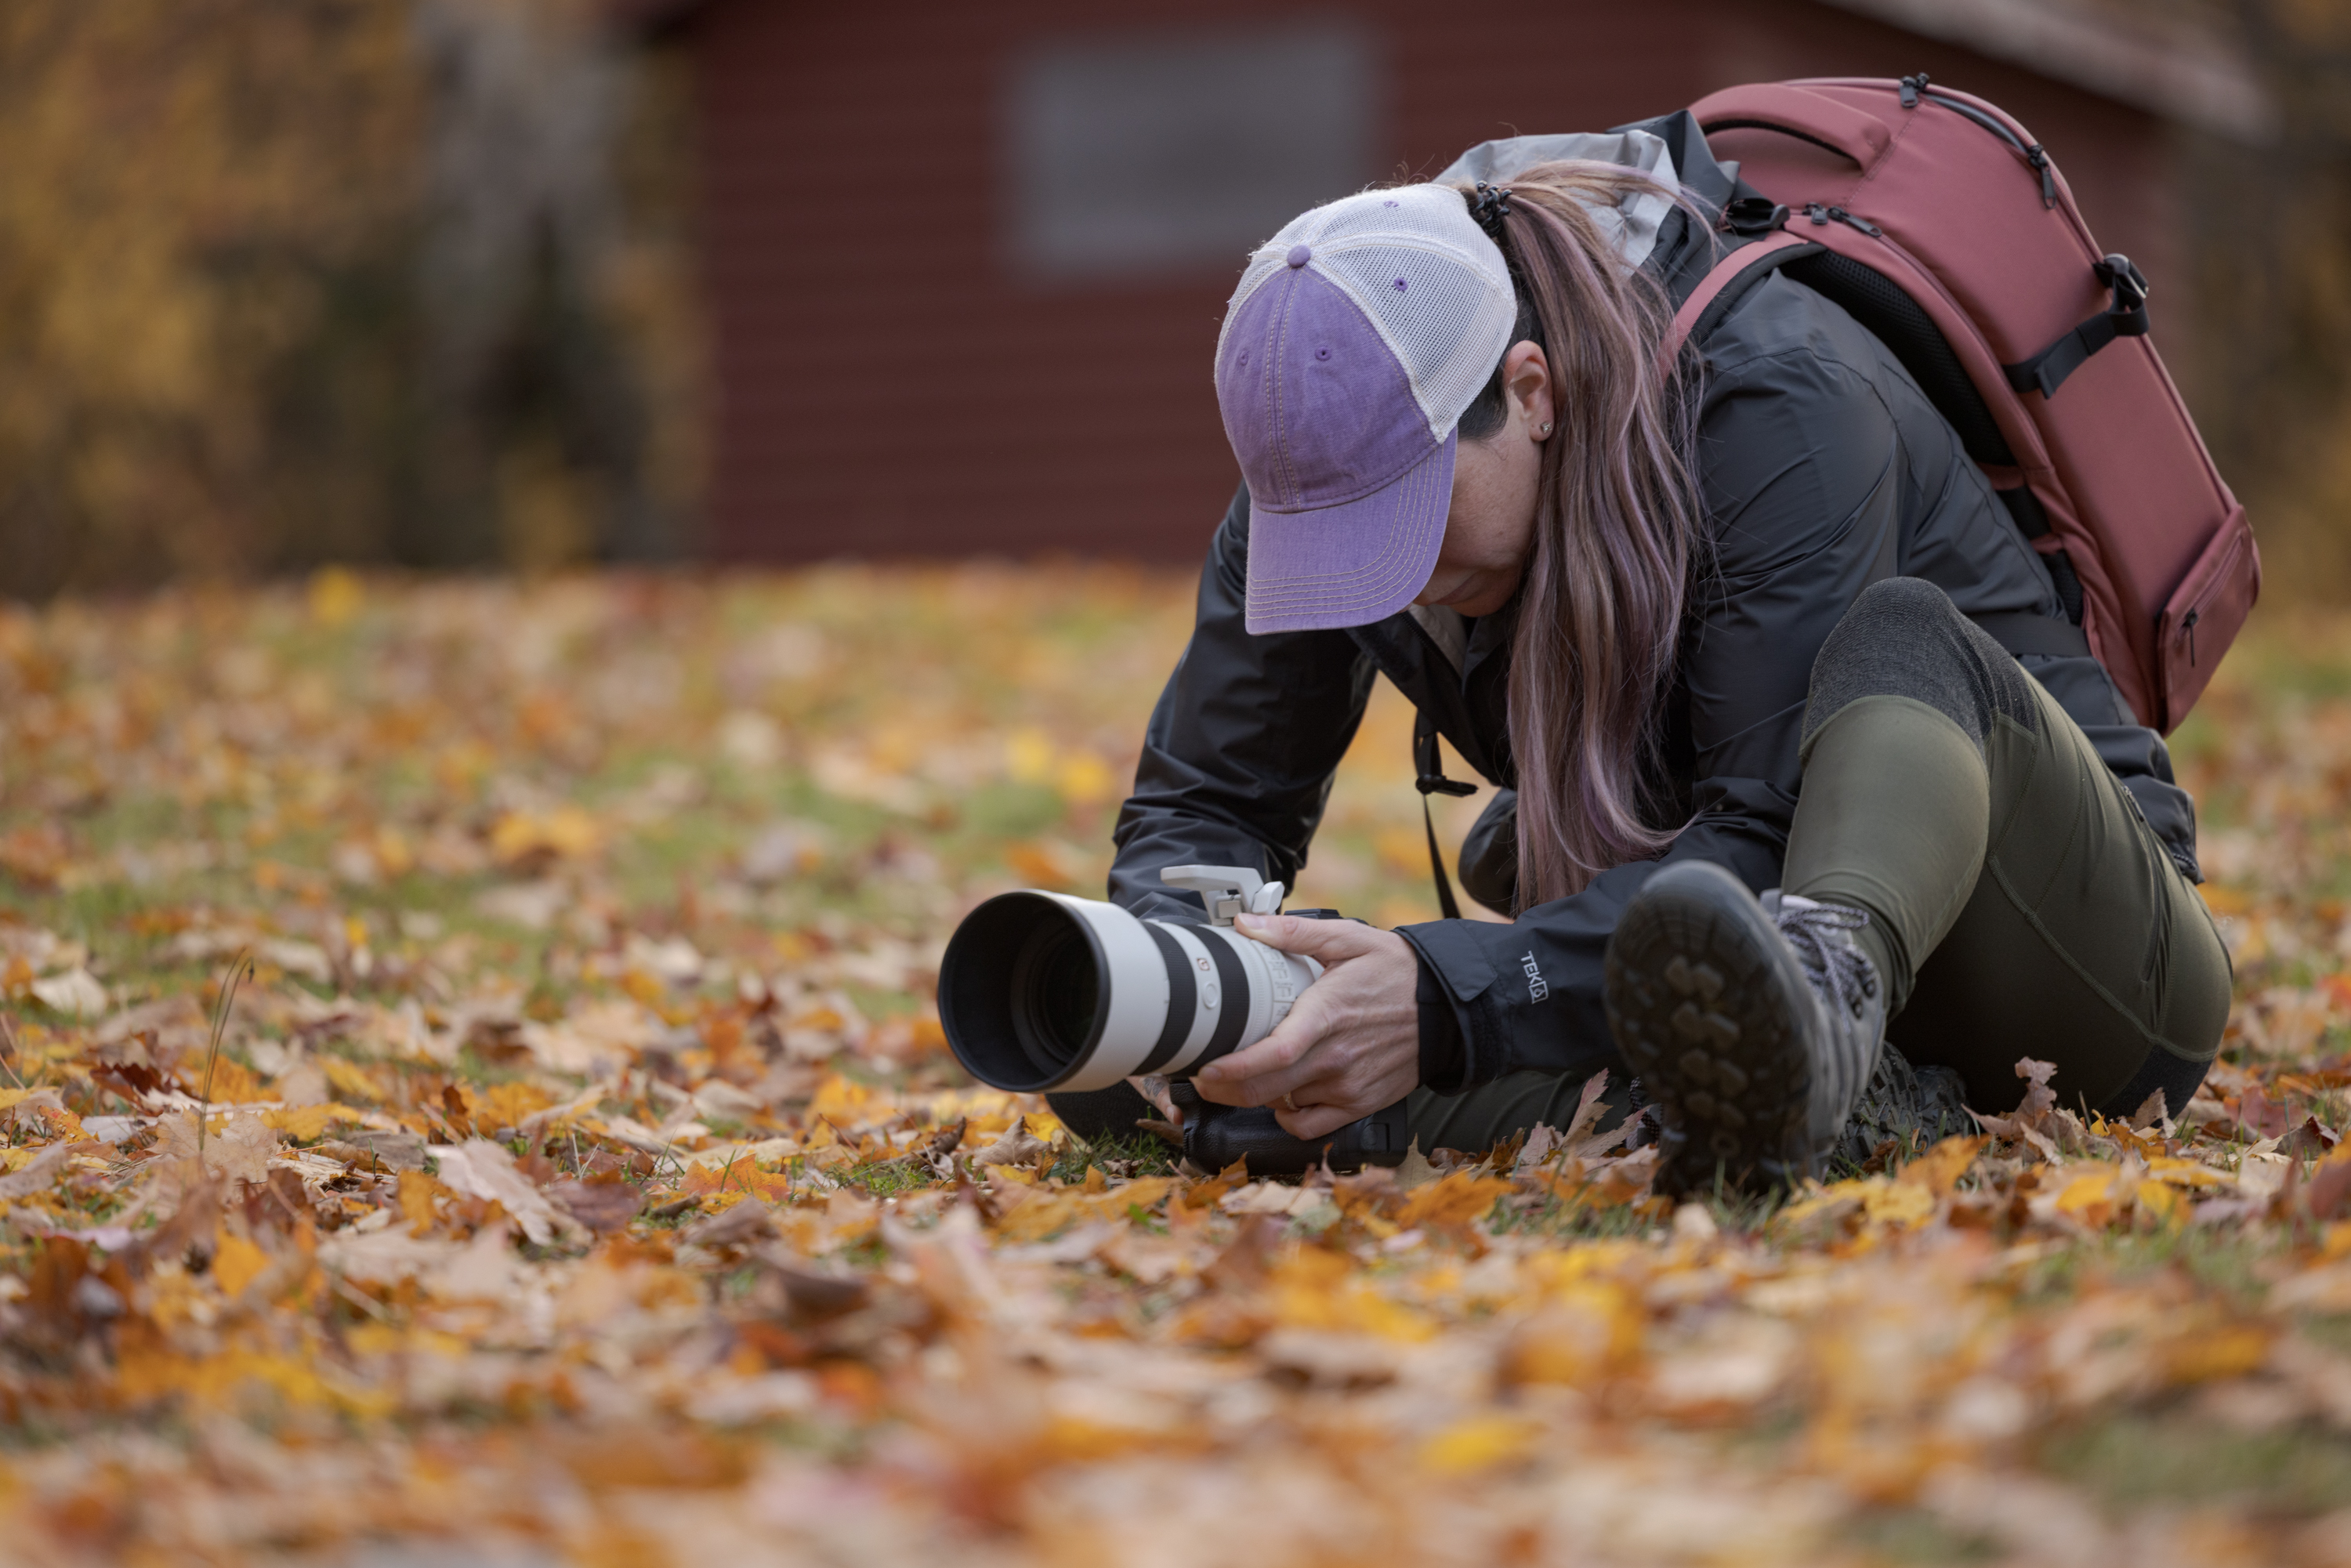
Shooting action though, you may just want to lie flat out on the ground for maximum stability.
If you have a non-mirrorless camera, even if it does have a flip screen, you're always best to look through the viewfinder. On SLR cameras, shooting with the flip screen does not using the same focusing system, and you may find that the camera does not track the subject very well.
So, you're stuck with contorting yourself into various other positions instead.
You can sit cross-legged with your elbows on your knees or (depending on your flexibility) on the ground in front of you.

Or you can lie flat out.
Or you can assume this graceful position, where you sacrifice your knees and elbows to prevent getting full-body-dirty (especially handy when photographing working dogs in a sheep paddock). 😆

Step 7. Practice and troubleshoot
Like most things you want to get better at in life, the key to obtaining consistently great action photos is to practice!
While most of the shots taken in this post were captured using professional digital cameras I’ve owned, it is possible to capture action with entry-level or older camera bodies. Making it easy for the camera to do it's job by selecting a good location and shooting in good even light often makes all the difference - it’s amazing what you can capture with more basic equipment.
Being able to practice on your own dog is ideal, but if they aren't the action type, find a relative or friend with one of those high-energy ball-chasers. These are ideal dogs to practice on as they are always happy to repeat the action over and over again.

My dog Opal will happily play fetch all day - Canon EOS 1D X, Canon EF 70-200mm f/2.8L IS II @ 200mm, ISO 800, 1/1250 sec, f/2.8
My final thoughts? There is no magic button. You have to put the work in. At least if you’re playing fetch in the process, there won’t be any complaint from your doggy subject.
Recap
So here's those 7 steps once again:
- Choose a good location - think open and spacious
- Shoot with good light - full sun is easiest, light cloud is also great
- Use the right camera gear - some bodies are better for action than others
- Choose the right camera settings - exposure and focus settings
- Set up predictable, repeatable action - get the dog running towards you
- Nail your shooting technique - shoot from a low angle in a stable position
- Practice and troubleshoot - over and over again!

Canon EOS 1D X Mark II, Canon EF 70-200mm f/2.8L IS II @ 200mm, ISO 200, 1/1600 sec, f/2.8
To see a real-life example of me photographing this ☝️ exact shot, while troubleshooting and talking about exposure (it's seriously jam packed with info), check out my RealShoots course (episode 7).
Skyrocket your Dogs In Action photography skills! 🚀
If you need just a 'lil more help to really nail those action photos (let's face it, it's not easy) then I have level-up education ready for you to check out now...
My premium video - 10 Tips for Awesome Action Photos of Dogs - is a 42 minute professionally produced video that goes in-depth into the points mentioned in the free blog post while adding valuable extra knowledge. I'm talking a serious deep dive here!
The video also covers shooting different types of action - jump/frisbee shots, panning, wide angle action, candid action - all of the action! Plus tips for making your practice sessions infinitely more productive, so you can iron out those bugs and improve your skills quickly. ⚡️
Plus, as always - tonnes of example photos and even some real-life video! 🎬
Download the Cheat Sheet below!
Join our mailing list!
Want to improve your pet photography with free tips and expert advice?
Join our mailing list and get a guided tour of what we have to offer, along with our weekly newsletter packed with practical pet photography insights.
📩 Sign up now and start learning with us!
We hate SPAM. We will never sell your information, for any reason.