
How to Straighten Wonky Horizons in Your Pet Photos
Jun 28, 2021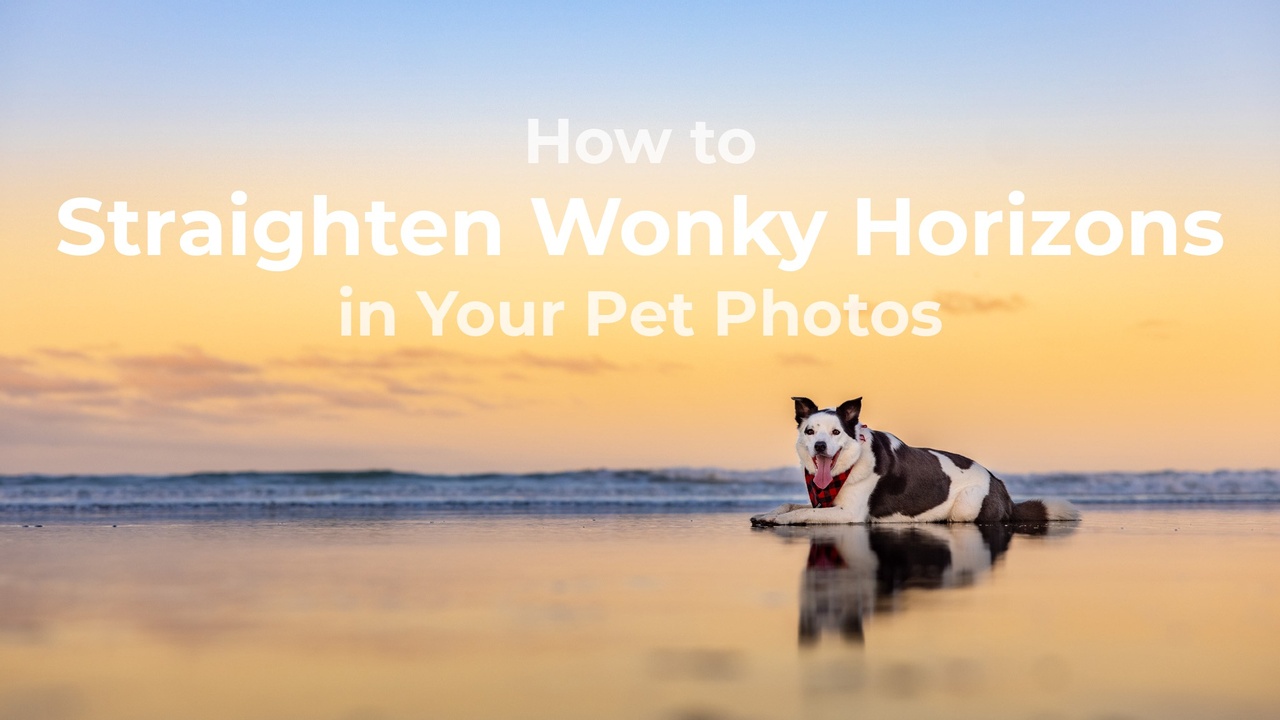
By Craig Turner-Bullock
I'm going to get right to it and level with you. Nothing spoils an incredible landscape image, whether there is a dog in it or not, like a wonky horizon. It's one of my pet hates! Nothing screams a lack of professionalism and attention to detail like a slightly sloping horizon. It's something that I think is a non-negotiable for professional quality images unless of course, you have an obviously intentional angle to enhance a quirky pet personality or angle of view.
Having said that, I’m the first to admit that when I shoot, it’s rare that my horizons end up perfectly straight. In fact, they pretty much always have a minor tilt - and depending on my position at the time of shooting - often my raw images look like they were taken during an earthquake (entirely possible given my location), or maybe while on a ship in turbulent waters!
A wonky horizon might be unavoidable when you're working on location with dogs and have a camera in one hand, a treat in the other and a squeaker in your mouth. But the good news is that it takes two seconds to fix in Lightroom or Photoshop.
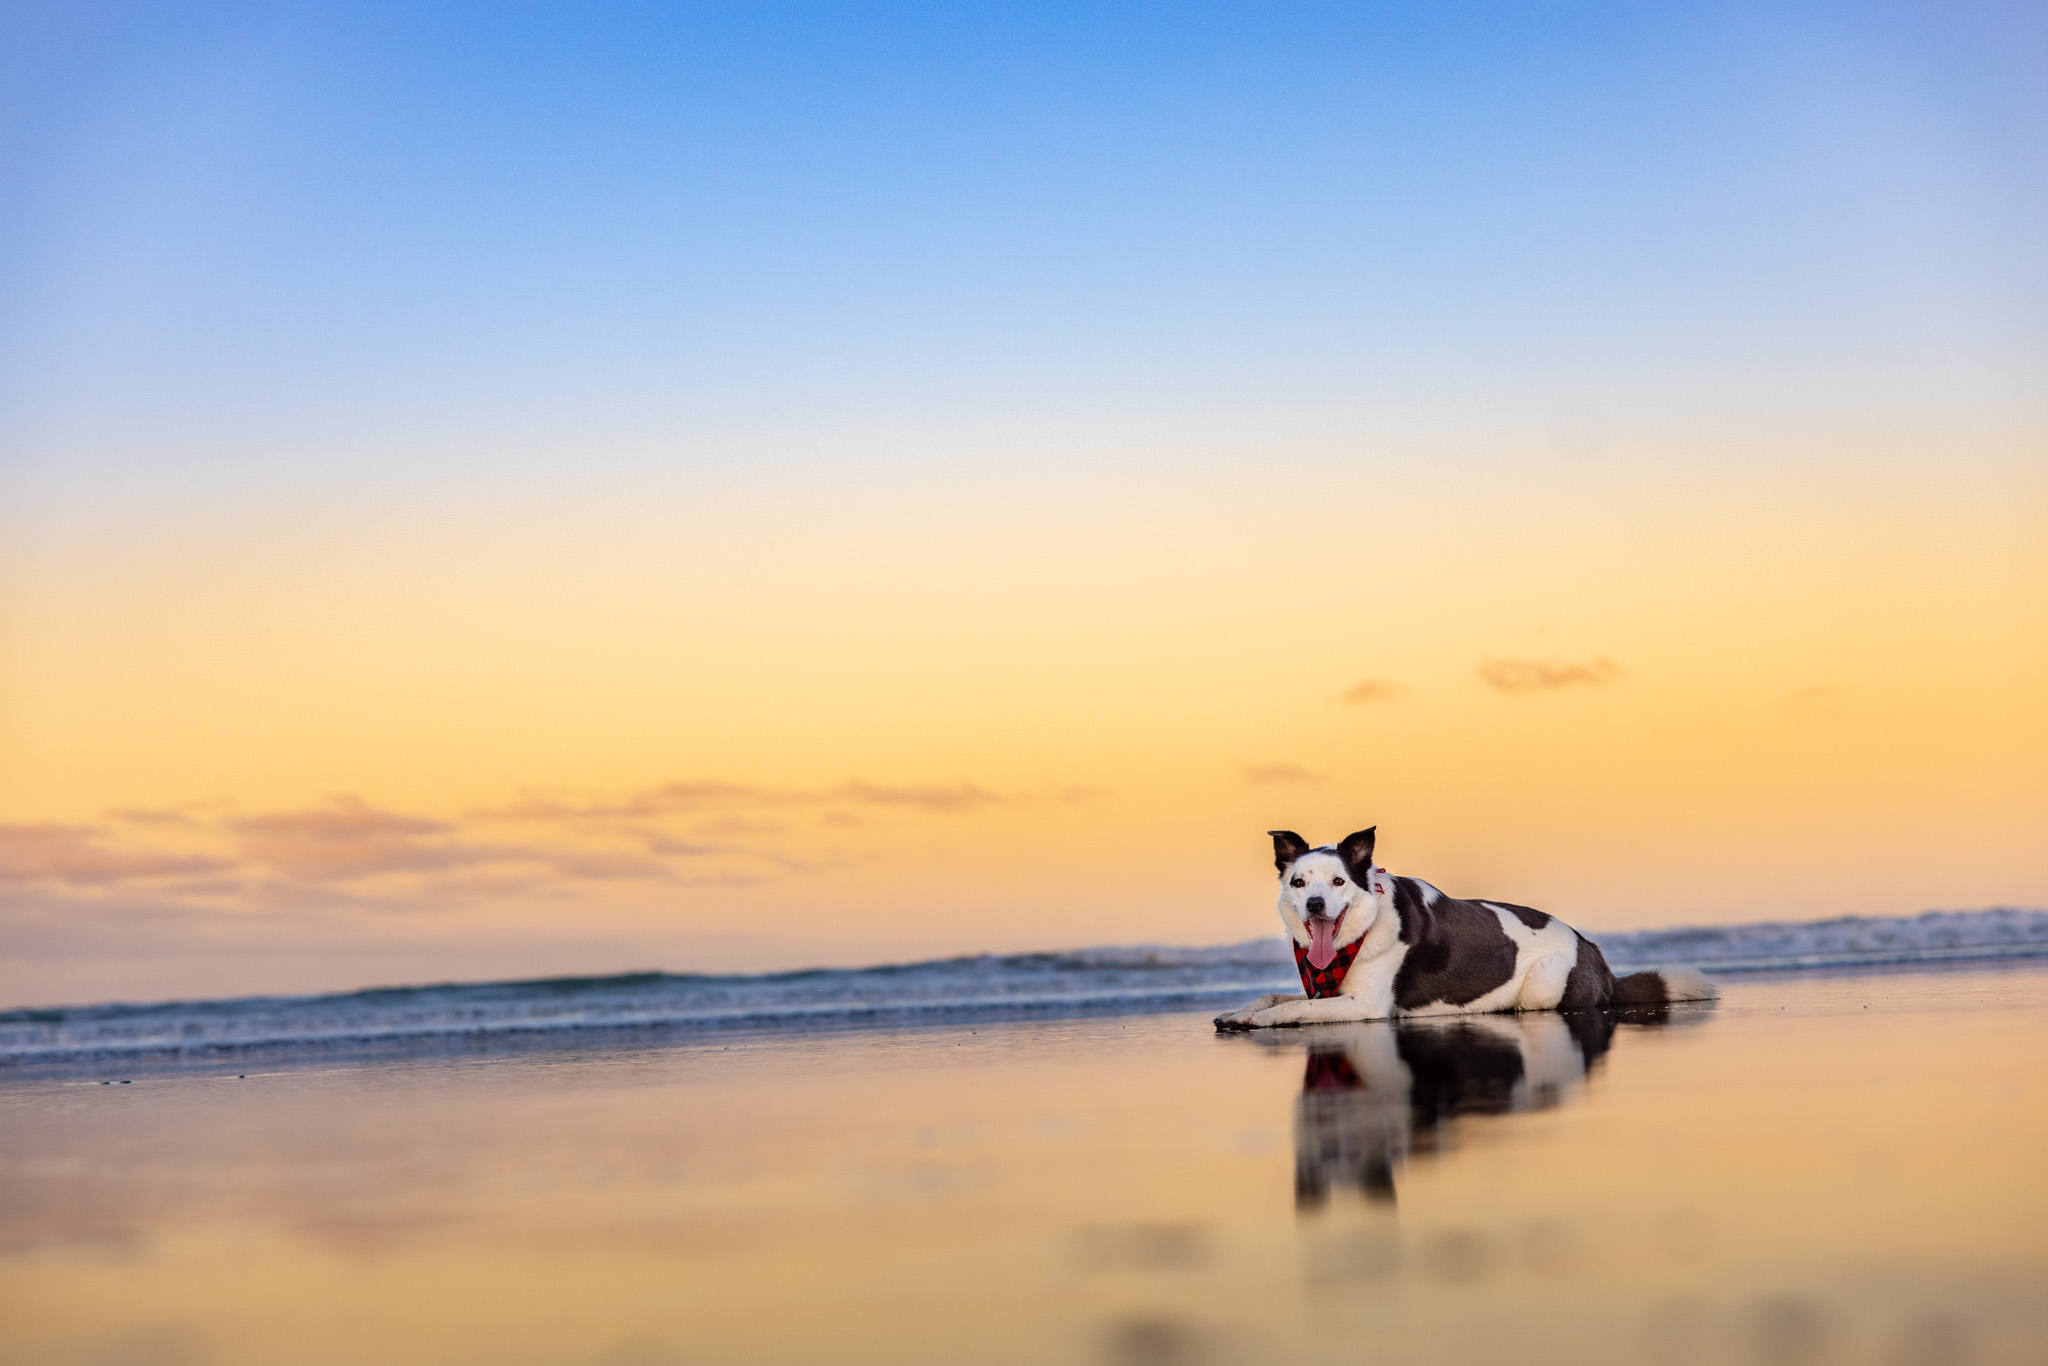
I'll use this wonky image of Benny above to show you a couple of quick and easy ways you can fix wonky horizon lines…
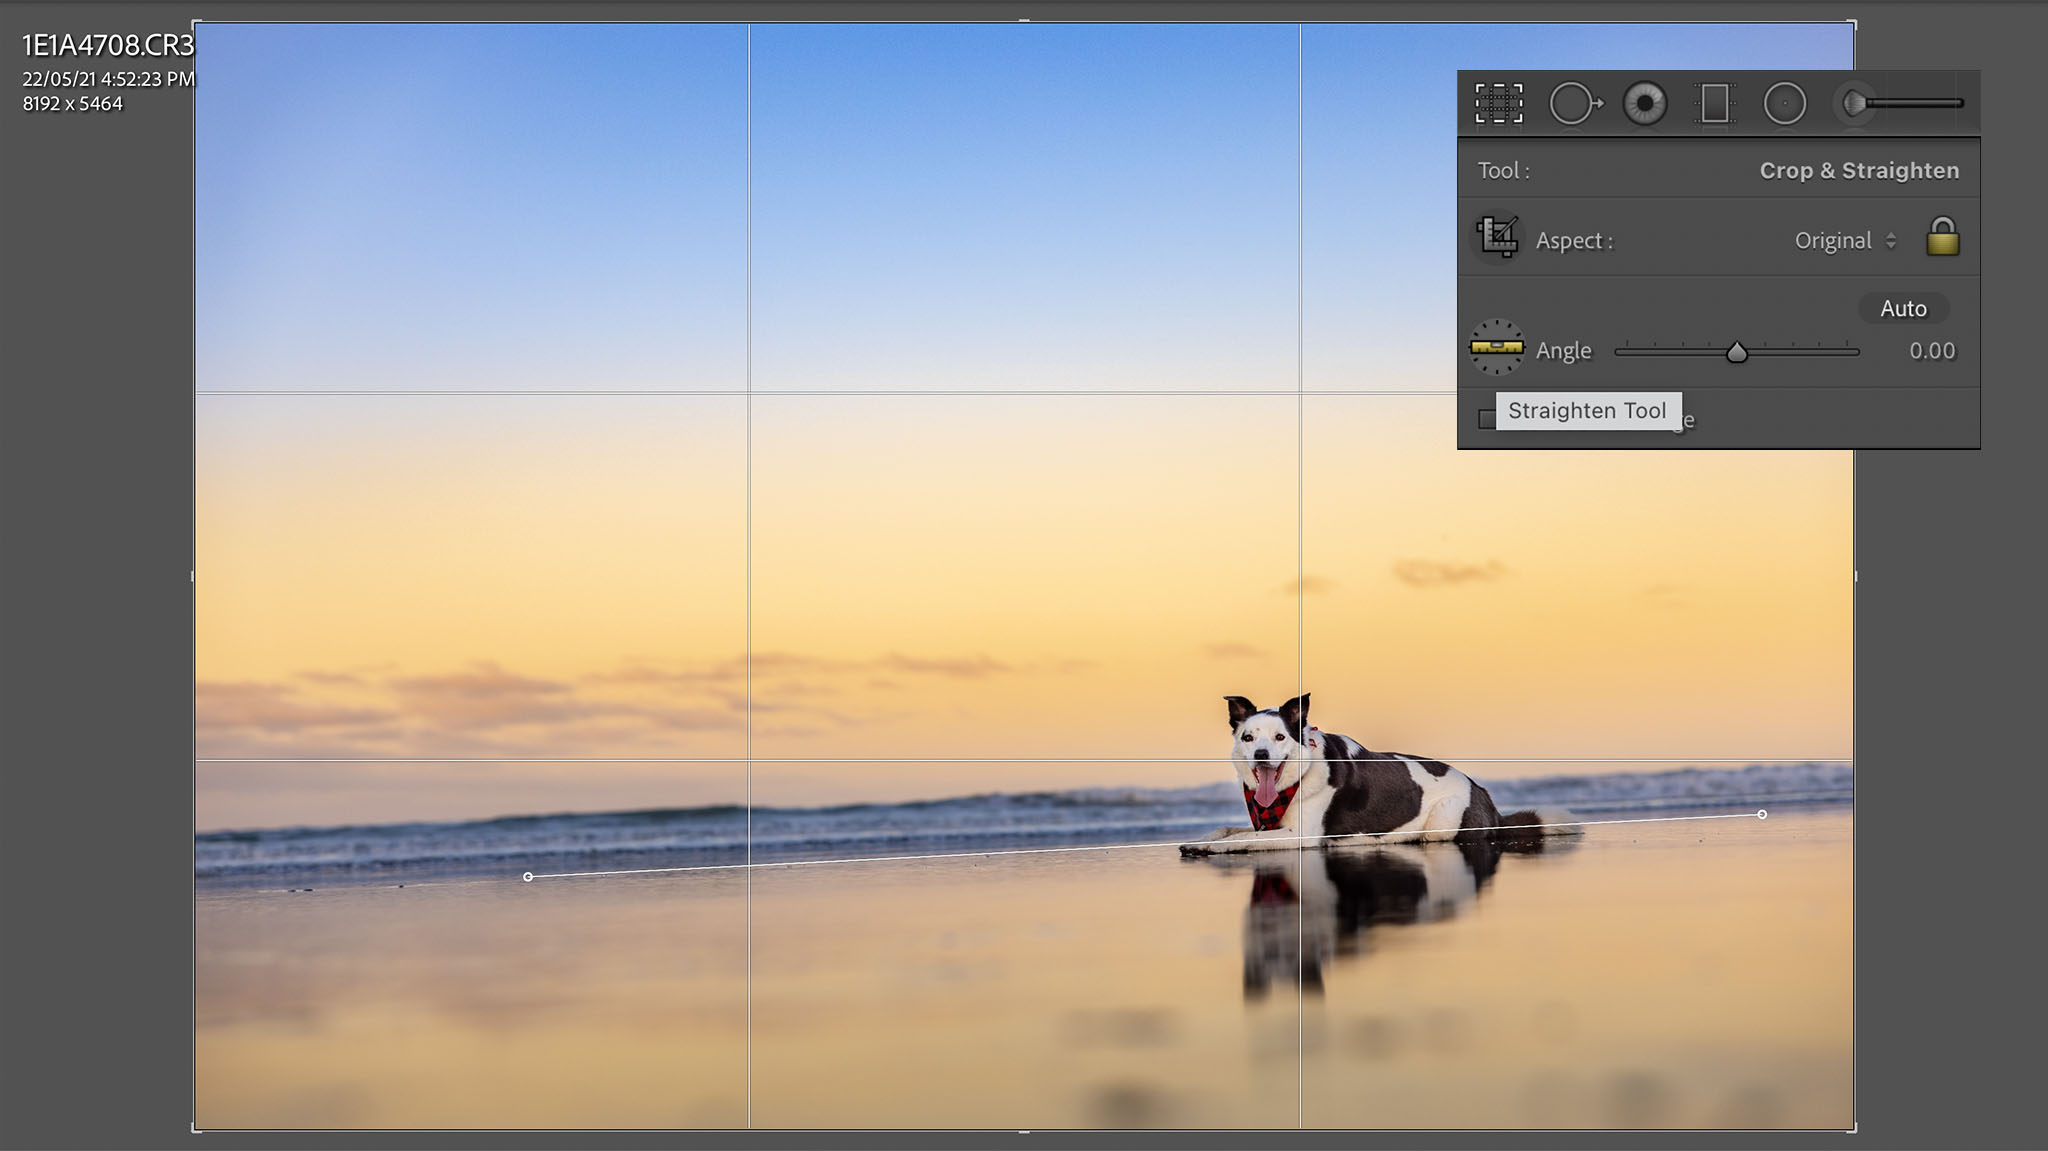
Using Lightroom
- Select the crop tool (shortcut R)
- Click on the angle tool or hold down command (mac) or control (PC)
- Click and drag the angle tool along the line you want to straighten
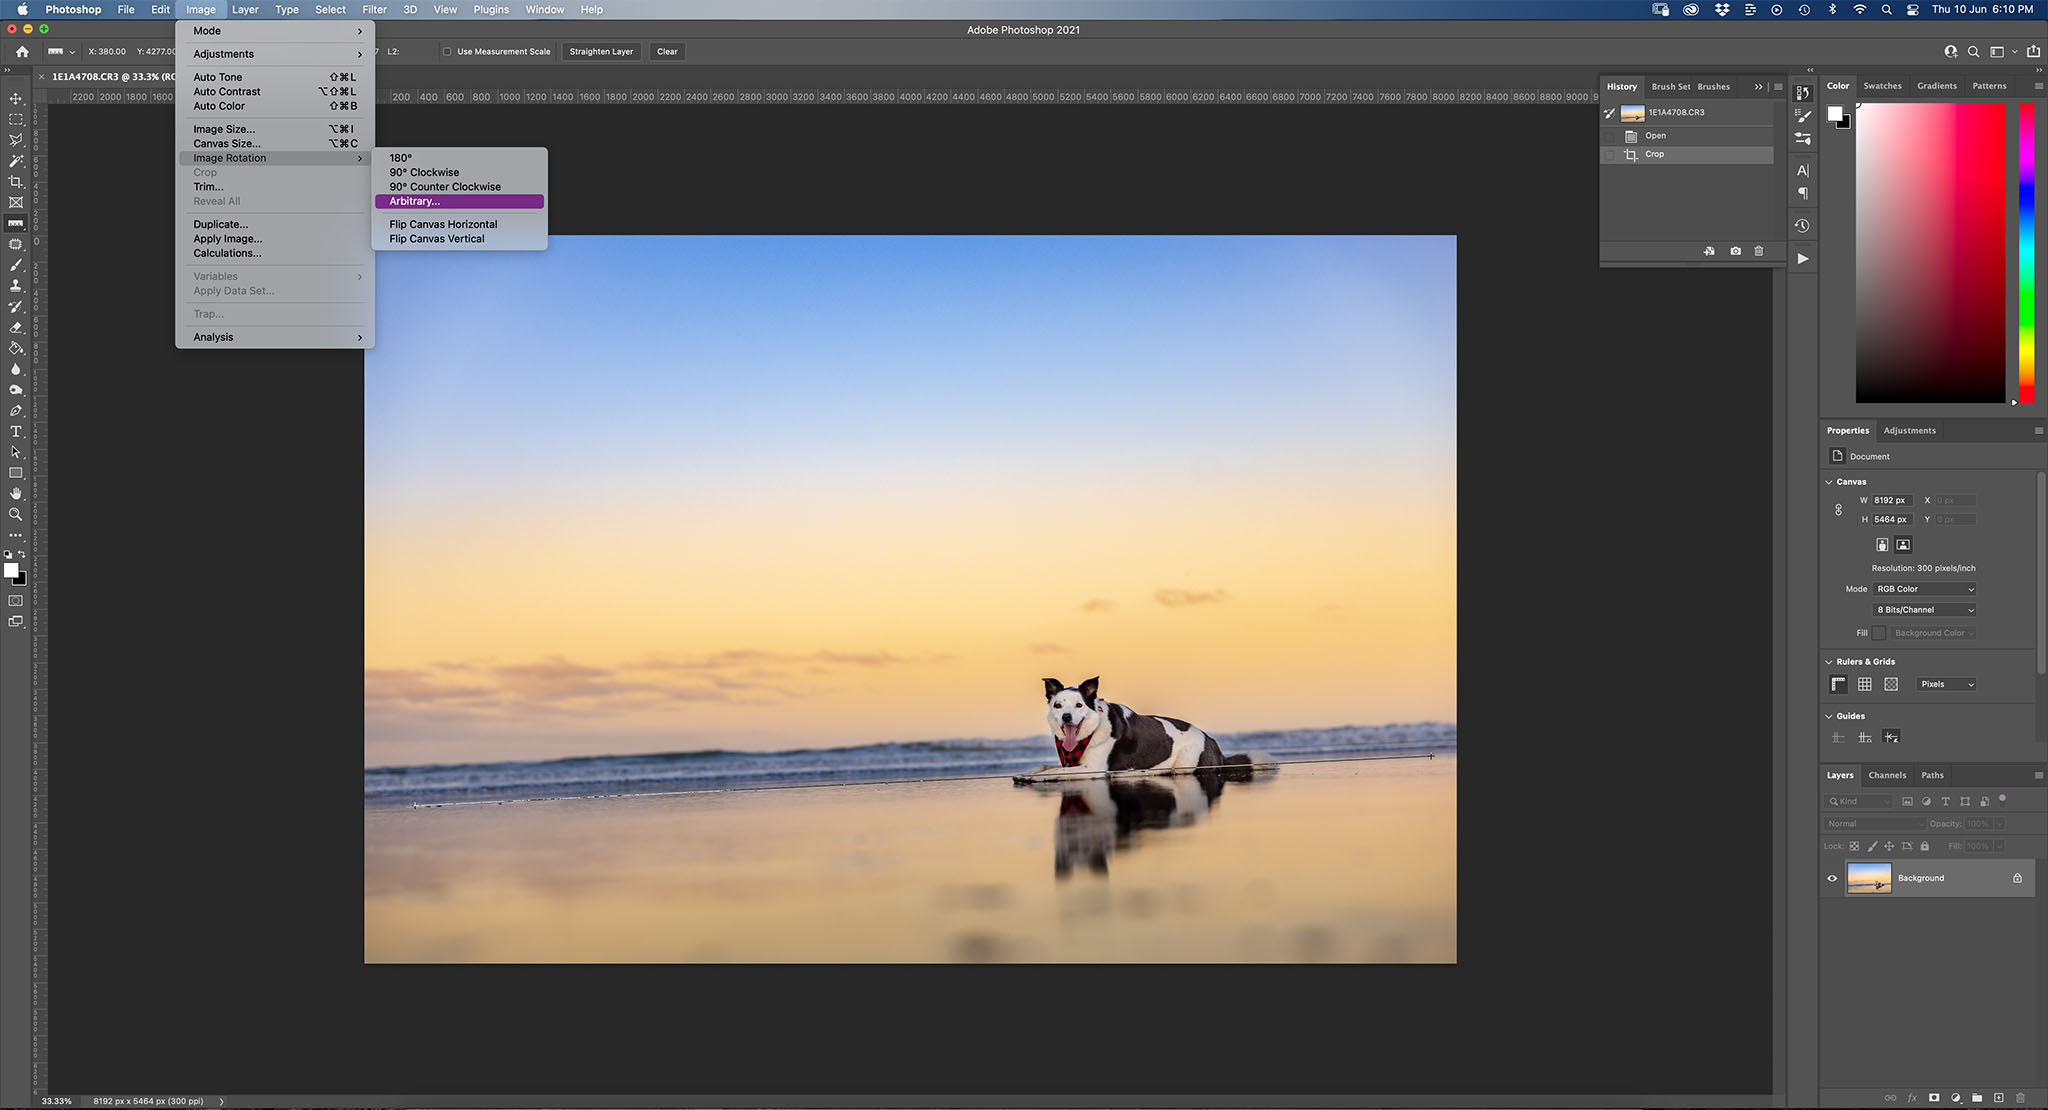
Using Photoshop
- Select the ruler tool
- Click and drag the ruler along the line you want to use to straighten the angle
- Go to image - image rotation - arbitrary. The angle to correct is recorded in the box
- Press enter to straighten the image
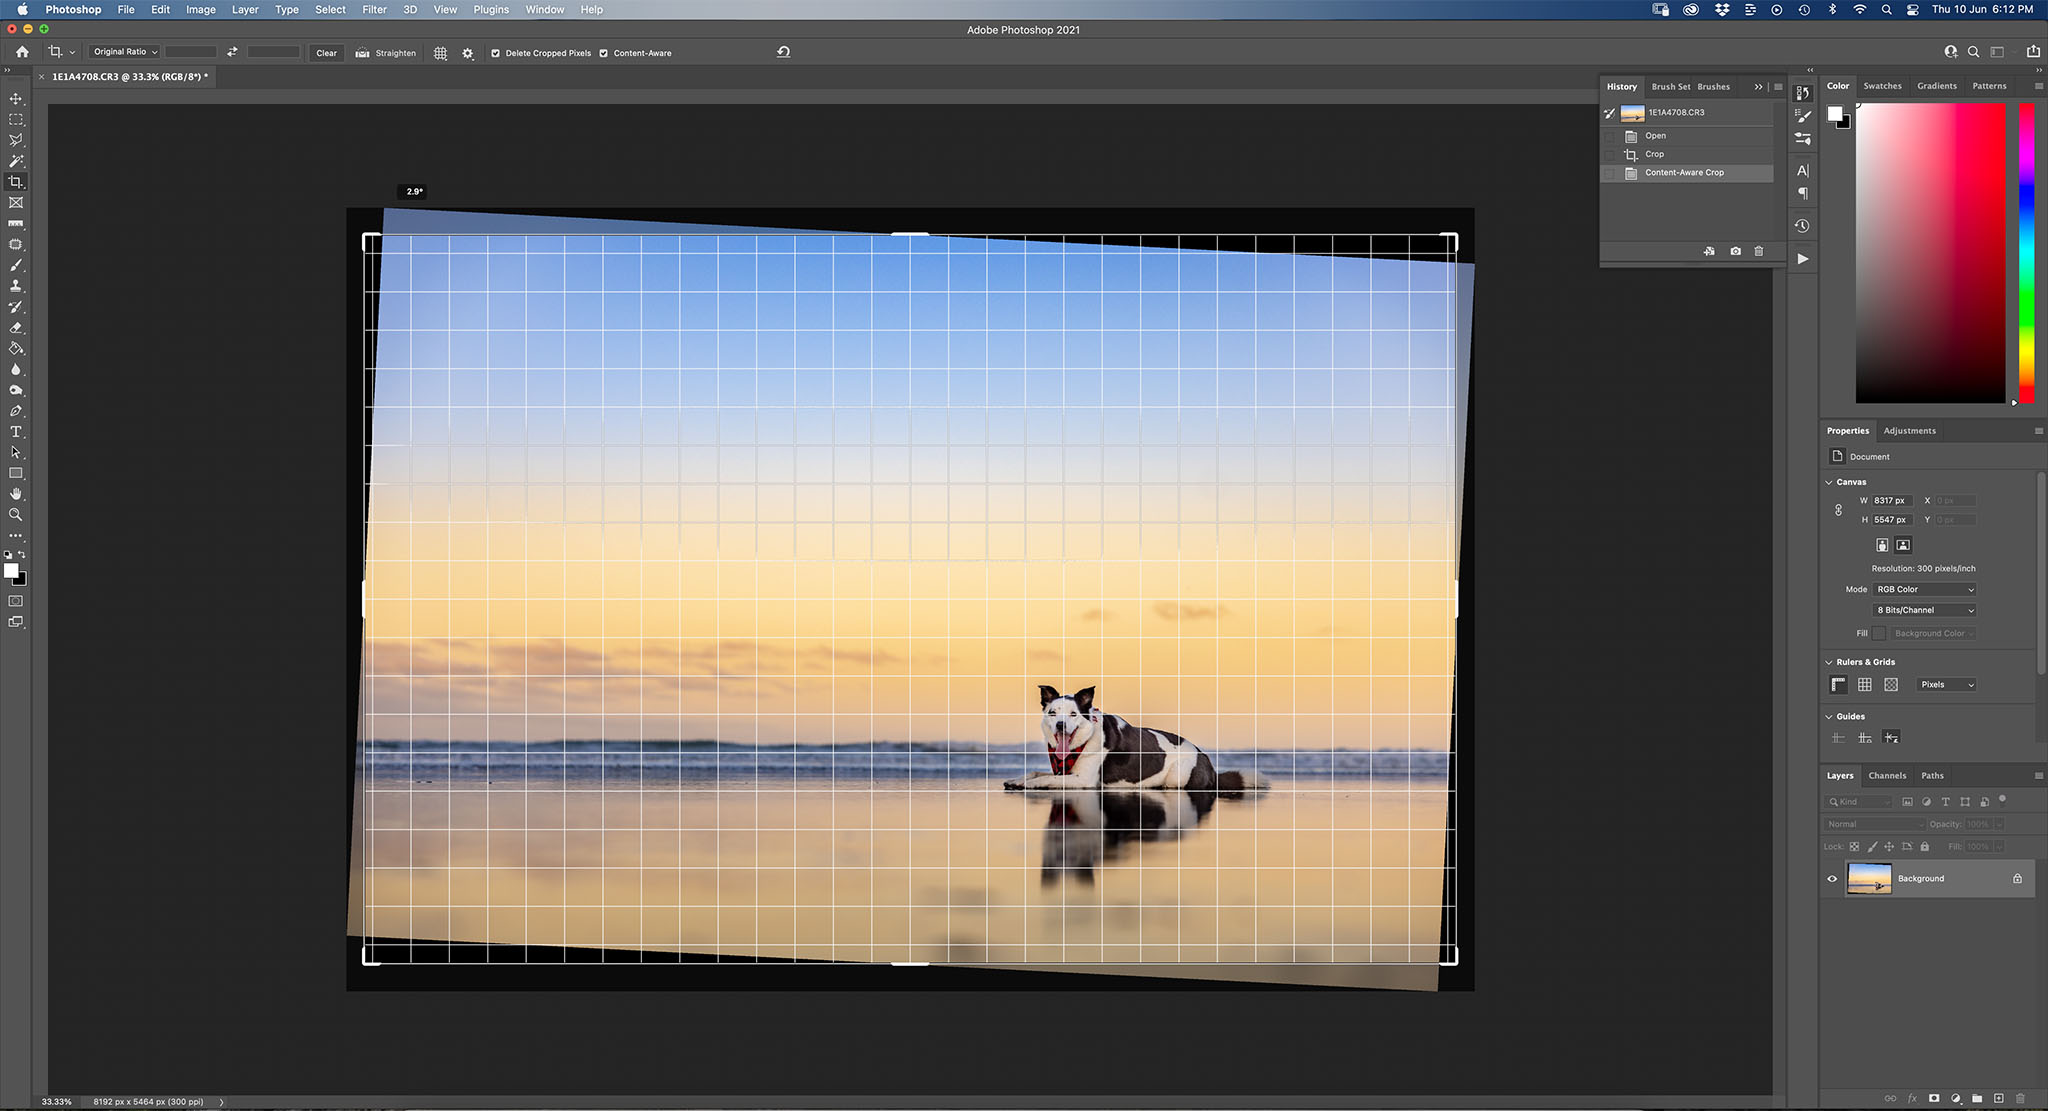
Content-Aware Crop
If you are cropping an image and correcting the angle loses too much from the edges of the frame, try using content-aware crop.
- Select the crop tool
- Check the content-aware box at the top
- With the cursor outside of the image, you can change the angle
- Use the crop boxes as a guideline for straightening the image.
- Press Enter
When you press enter to crop, Photoshop will fill in the empty areas and you will have corrected your levels without losing any parts of the image!
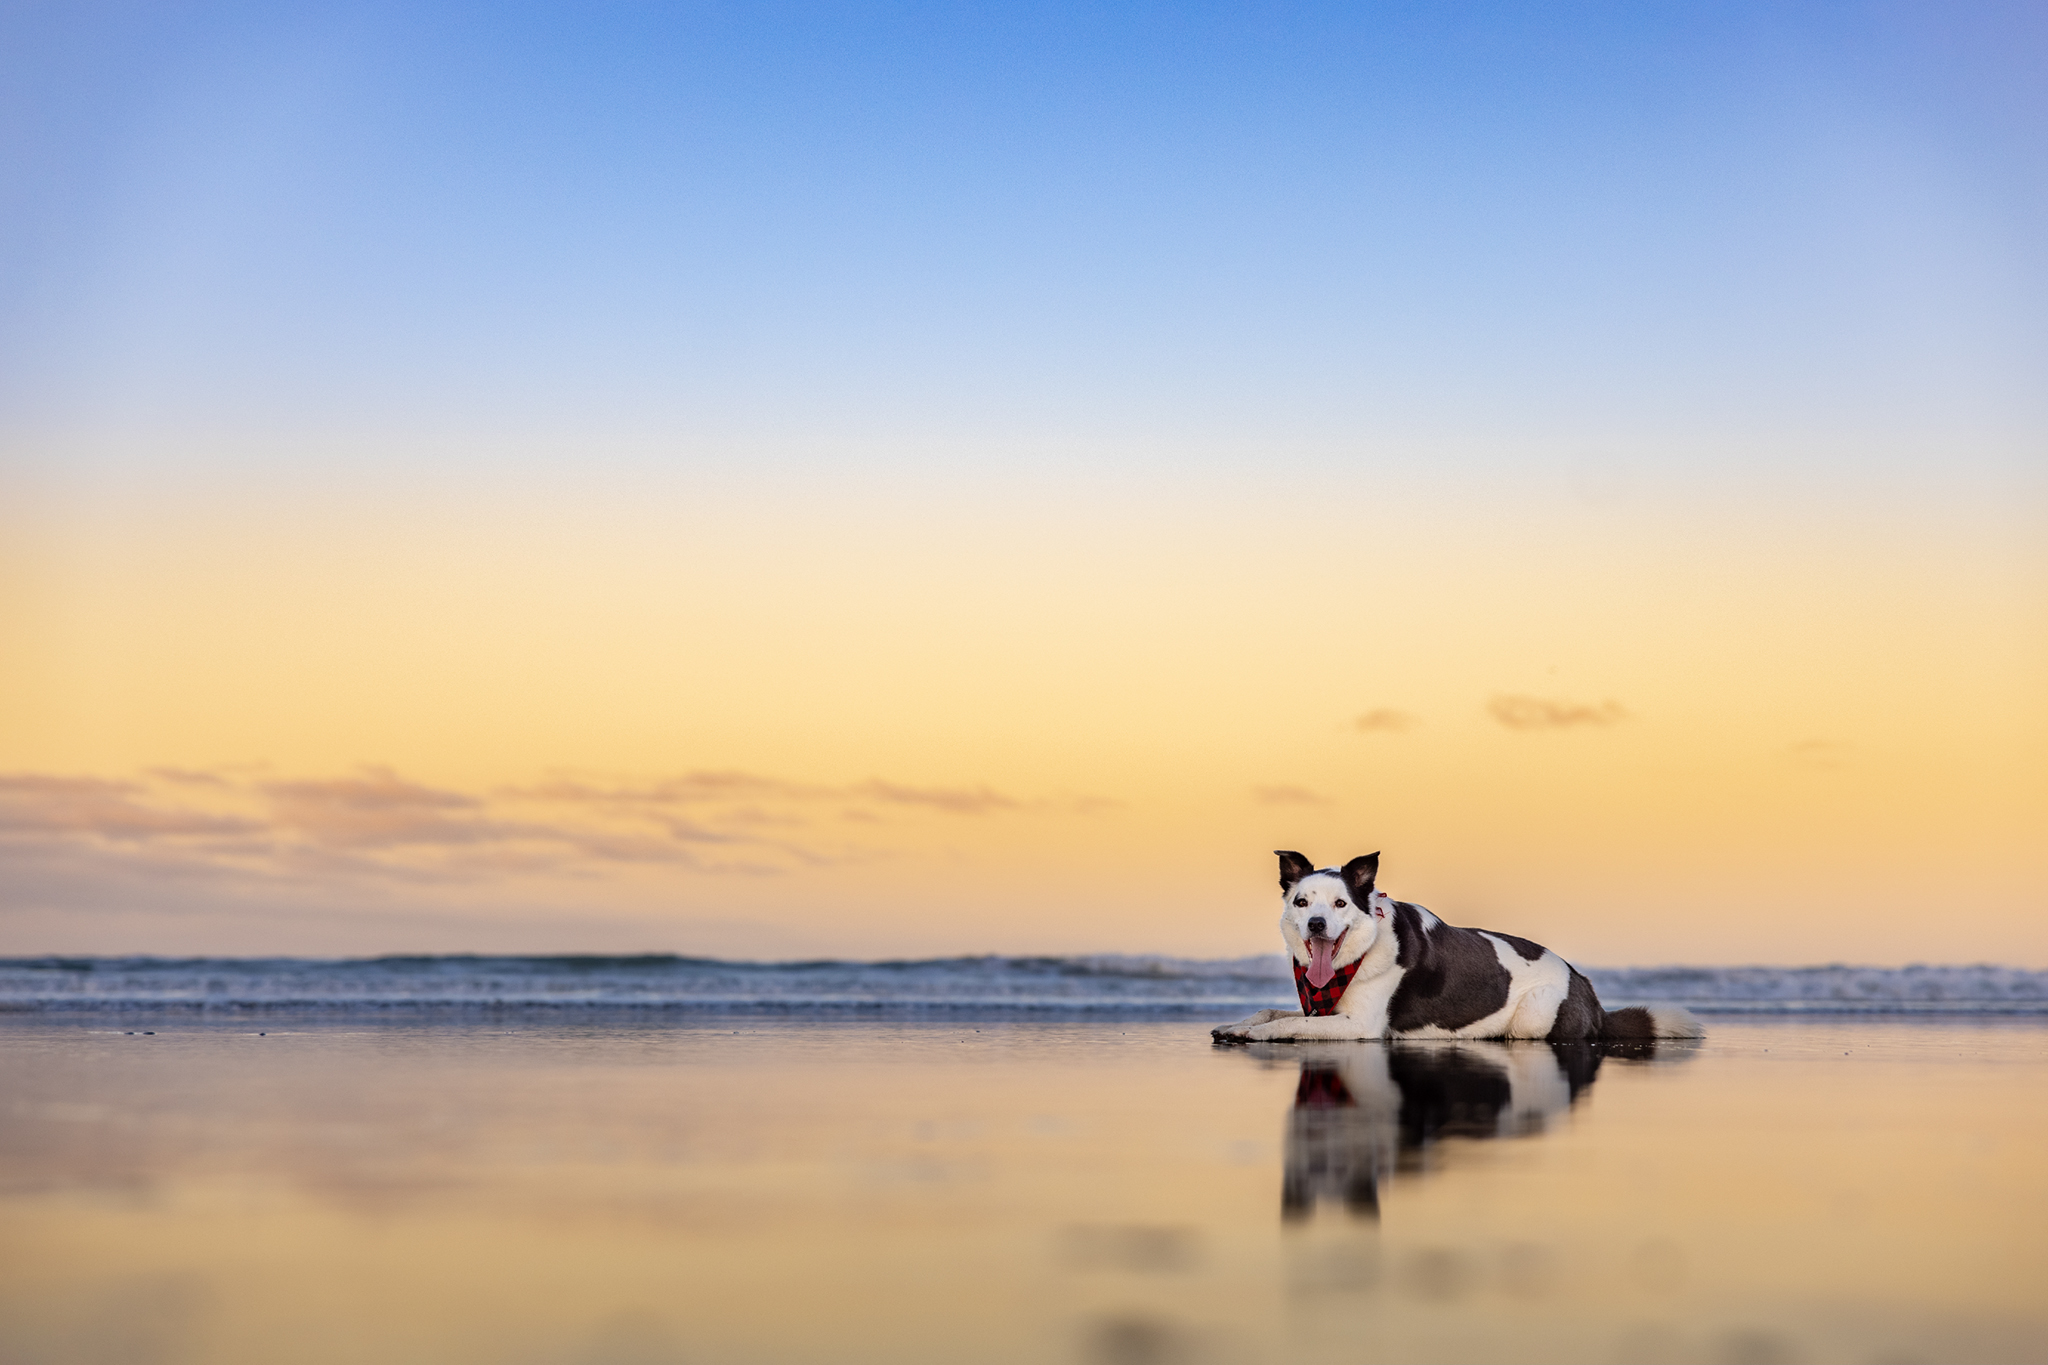
Benny's image after using content-aware crop to straighten it.
That's it from me and Benny, I hope these tips will be helpful and remember; please, please, please straighten your horizons!
- Craig ✨
Join our mailing list!
Want to improve your pet photography with free tips and expert advice?
Join our mailing list and get a guided tour of what we have to offer, along with our weekly newsletter packed with practical pet photography insights.
📩 Sign up now and start learning with us!
We hate SPAM. We will never sell your information, for any reason.